


Knowledge is power in the world of business, and sharing that knowledge can do a world of good for everyone. But when it comes to sharing knowledge in an analytics platform like Tableau, your options may be limited or downright confusing.
In this article, we cover the four most effective methods for sharing Tableau dashboards with your team. We list step-by-step instructions for using each one, along with screenshots and details so you know what you’re getting into.
Want to be sure you’ve picked the right method? You can browse the benefits and caveats of each technique at a glance to make an informed decision.
The 4 Easiest Ways To Share Your Tableau Dashboards
Contrary to popular belief, sharing your Tableau dashboard doesn’t have to be complicated. One of the four techniques below can help you quickly share vital information without compromising your security (or bloating your day with repetitive tasks).
Let’s start with the most obvious solution:
1. Native Sharing
Tableau offers some native sharing tools to help you send information with ease. While it’s a little more straightforward than sharing Power BI dashboards, it can still take time to learn your way around.
Just keep in mind Tableau’s native sharing tools require you to purchase user licenses to view data. If you want to share internal KPIs without racking up monthly bills, you may want to move to a different alternative.
Either way, let’s dive into the details.
1. Log into your Tableau account. If you haven’t already published your workbooks to the cloud or a personal server, you can do so now. Be sure to follow the right instructions for Tableau Desktop or Tableau Online!
2. Navigate to the ‘Share’ button at the top of your dashboard. You should see one of two methods pop up: embed codes, and direct links. We’re only focusing on direct links here, but don’t worry — we’re covering the embed code option in a later section.
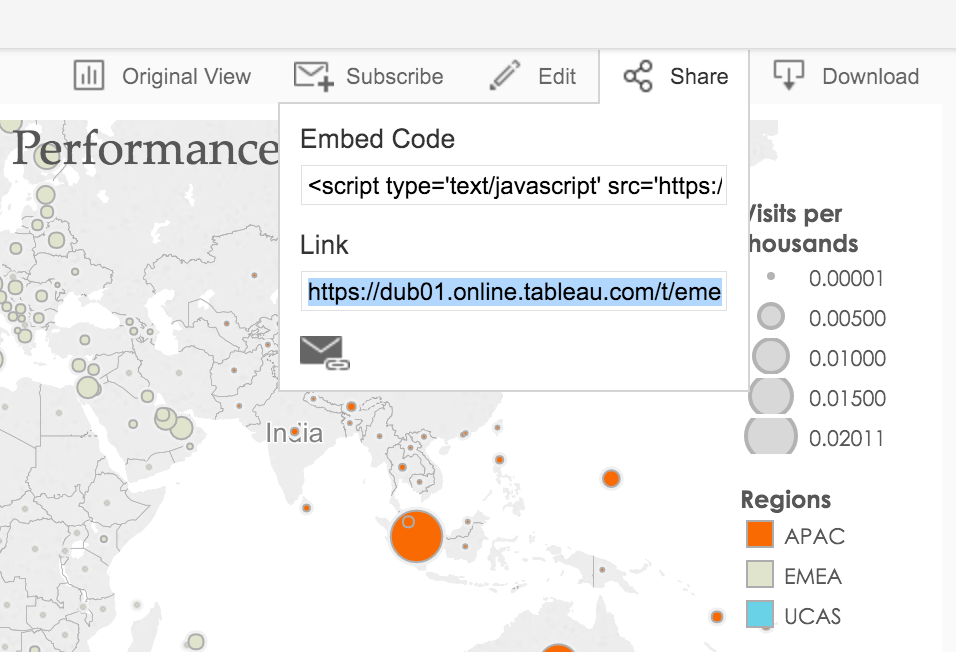
3. Copy the link to your clipboard. Now you can send the link through any channel you want — like a Notion board, text, or Slack message — so specific people can access your data and make informed decisions moving forward.
Method Benefits
- This is a three-step method for sharing Tableau dashboards, making it one of the easiest techniques on the list.
- Since you can easily copy/paste a sharable link to any channel, you have plenty of control over who can or cannot access essential data.
Method Caveats
- There are three different methods of publishing data through Tableau: publicly, on the cloud, or through your private server. Unless you share data through the public method, you need to purchase separate user licenses so recipients can view your data — all of which start at $15 per user per month.
- Managing user permissions throughout the day could be frustrating, especially if you want to share metrics with both employees and customers.
- Coaching employees through Tableau’s steep learning curve may be a problem for large organizations.
- Links sent to an employee’s phone or Slack channel may get lost in a sea of other business-related ‘noise’ (it just happens sometimes).
2. Embed Codes
Links are just the first route you can take for sharing Tableau dashboards. Hitting the ‘Share’ button also provides a secondary option: embed codes.
What are embed codes, you ask? Essentially lines of text in HTML, which is a coding language used by developers to add new media to a webpage. Getting an embed code from your Tableau dashboard means you can directly add visualizations to your website, collaboration tool, or public server. This makes it easier on everyone (especially public audiences) to view beautiful visualizations in real time.
Just keep in mind embed codes aren’t a perfect solution. Since they require an additional level of authentication, it can be tricky to access data quickly. You may also need to pay extra for expensive APIs or change your billing structure to get the guest accounts you need.
Either way, here’s how you can make the magic happen:
1. Like before, log into your Tableau account and tap ‘Share.’ You should see two options — Embed Code and Link — in the dropdown box.
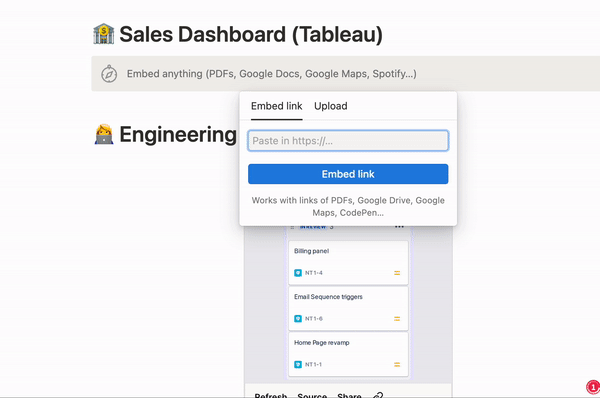
2. Copy the embed code and paste it into any platform that supports iframes. That means you can instantly add a Tableau dashboard to your website, wiki, Notion board, or blog post. Here’s an example of a copy/pasted embed code in Notion:
Method Benefits
- Embedded links can make dashboards accessible in the spaces your team is already in, including Notion, your website, and even company apps.
- Views embedded on blogs and wikis instantly update as the data changes, which means you can quickly get your team up to snuff from anywhere in the world.
- If you want to get even more granular with your embedded views, you can use Tableau’s Embedding API to build custom solutions. Just keep in mind this is going to cost you — and the only way to get a quote is to contact the company directly.
Method Caveats
- Embed codes may cause other problems for your website or app, especially if you have multiple codes on the same page. If you notice anything strange or realize there’s something off, you may need to get a developer to take a look.
- You need a second line of security to prevent unauthorized users from accessing your Tableau visualizations. This means everyone on your team has to enter a second line of authentication to view the dashboard (unless you’re paying for a SAML Identity Provider like Okta or OneLogin). Since the authentication process can be time-consuming and frustrating, it may prevent employees from digging deeper into your data.
- Only internal users can view your embedded visualization on a private server or company app. If you want guests to have access to your visualizations, you need to activate a Guest user for your Tableau site — which requires you to purchase core-based licenses of Tableau Server. This option isn’t available for accounts on user-based licensing, which makes embeddable sharing both expensive and complex.
3. Send Them Via Email
If pasted links and embed codes just aren’t your thing, you can always try Tableau’s email subscription tool. This allows you to send regular emails with specific views so recipients can stay up-to-date without digging back into the archives for a link.
Email subscriptions are a great way to keep employees current without manually re-sending your dashboards. However, this method still requires you to purchase additional user licenses, which may be prohibitively expensive for your growing brand.
Nevertheless, you can subscribe your team to Tableau dashboards using the following steps:
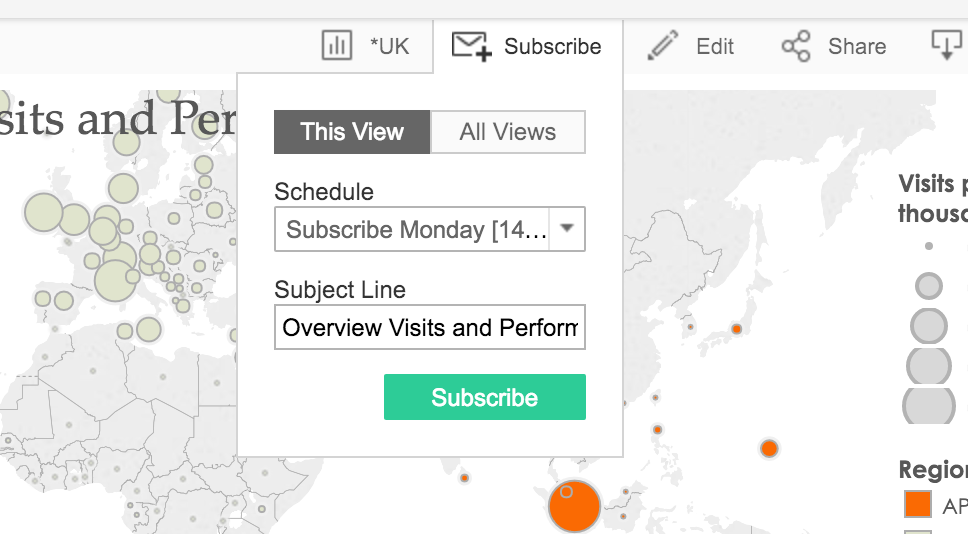
1. Once you’ve logged into your Tableau dashboard, navigate to the view you want to share. Next, click on the ‘Subscribe’ button. It should look something like this:

2. Under ‘Subscribe,’ you should see a couple different options depending on your license type. If you’re a basic user with basic access to the view, you should see this:
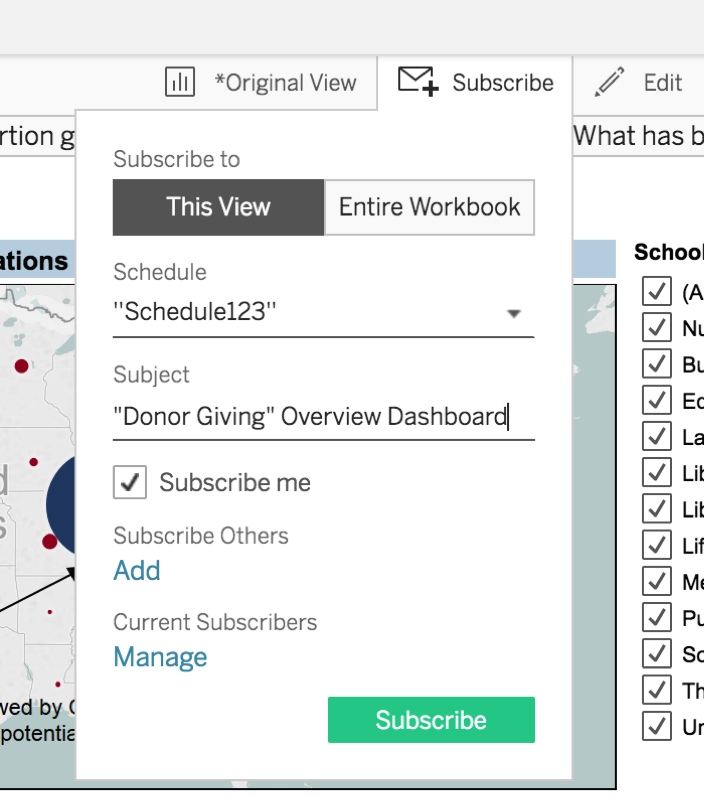
If you’re an administrative user or someone in a leadership role, your ‘Subscribe’ options may look something like this:
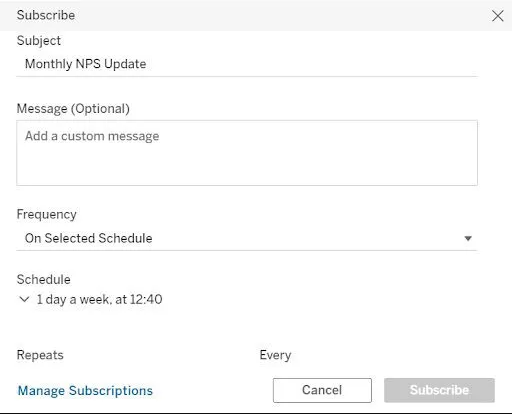
3. If you’re an individual user, you can set a subject line and schedule for your Tableau view. You could, for example, send a Tableau dashboard to your inbox at 9 AM every Monday so you can start the week on the right foot.
Administrative users can add existing subscribers to your company Tableau account. Remember that users need the Viewer license to be eligible for email subscriptions — you can’t add people outside of your account.
Method Benefits
- You can automate the sharing of your Tableau dashboards and put mission-critical information on autopilot.
- Since both individuals and admin users can subscribe to a view, you can offload some administrative responsibilities and streamline the sharing process.
- You’re not sharing a public link or compromising internal safety; this method sends visualizations directly to company email addresses.
Method Caveats
- Like the native sharing method, you must provide users with viewing subscriptions ($15 per user per month) to subscribe to visualizations. Otherwise, you need to publish your data to a public server, which isn’t ideal for all data sets.
- Individuals with access to the visualization must manually subscribe to your Tableau dashboard. You must be a project leader or administrator to subscribe people yourself, which can be a time-consuming endeavor (and hard to remember) as your team grows.
- Subscriptions only provide snapshots of your visualizations at regular intervals — they don’t offer real-time updates as the data changes. This could be a problem for shared visualizations that need to be top-of-mind for your busy team.
- This isn’t a great method for visualizations you want to share publicly, especially since you can only add email addresses used by members of your account. If you want to share a view with someone outside your organization, you may want to try TV dashboards as a more effective solution.
4. Share Them With Fugo
You’re not really happy with Tableau’s view sharing tools, and you don’t want to deal with emails or embed codes. That means you have one last option to consider — or really two separate options wrapped up in a neat little package.
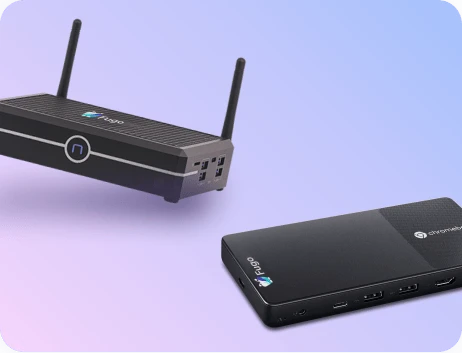
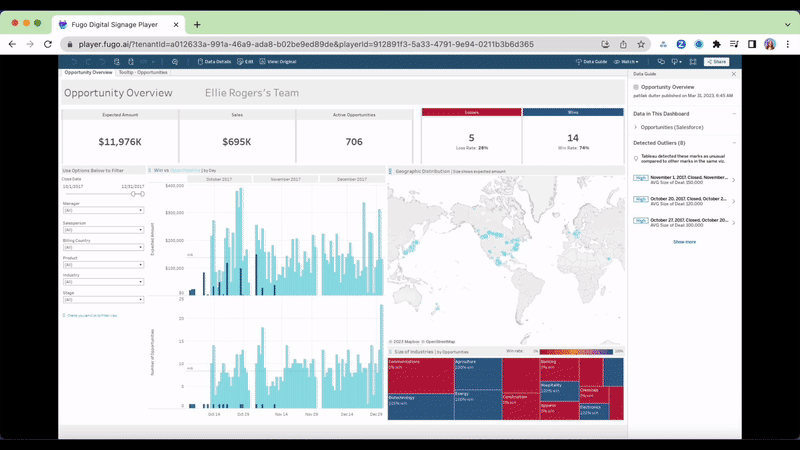
Fugo is digital signage software offering solutions for in-person and distributed teams. Rather than paying for costly user licenses or sending multiple emails per week, you can display Tableau dashboards in the physical and digital spaces employees use every day.
There are two methods of sharing Tableau dashboards with Fugo: office digital signage, and Embeddable Company Channels.
Office digital signage is best for in-person or hybrid work environments. If you’re not working together all the time, you’re at least in the office most of the week.
Embeddable Company Channels are best for remote and distributed workforces. Employees all over the world can view your Tableau dashboard from their browser without worrying about access limitations or user licenses.
Let’s break these down into smaller bites:
Share Your Tableau Dashboards With Office Digital Signage

With Fugo’s office digital signage tools, you can display real-time snapshots of your Tableau dashboards on physical displays and TV screens. Think of it like Canva for TVs — just easier to use and even more professional looking.
It takes just a few steps to get started:
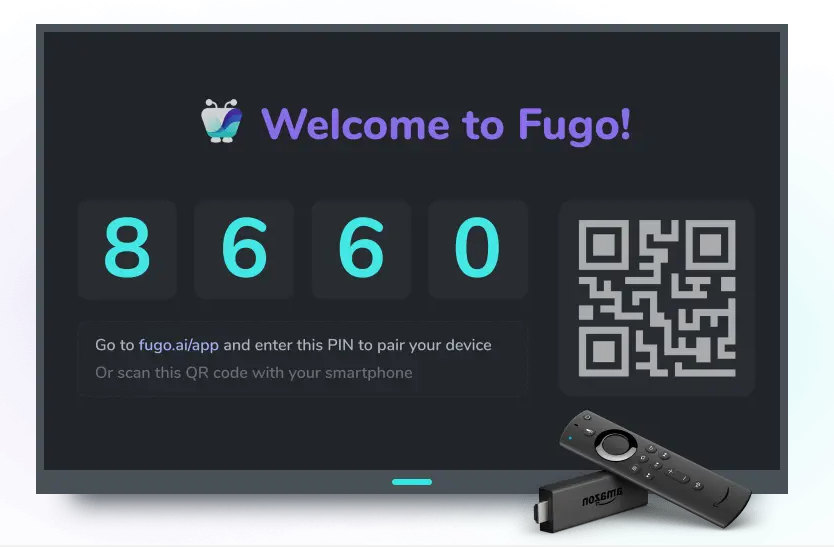
1. Sign up for a Fugo account. Don’t worry — it’s free for 14 days!
2. Pair your TV screen to Fugo’s CMS. You can read through our Getting Started Guide for more information about how this works.
3. Capture your dashboard using our step-by-step TV dashboard guide. Don’t worry; this is easier than you think!
4. Push your dashboard to your screen/s. Now everyone in the office can see your Tableau visualizations at practically any time.
Want an even shorter step-by-step guide? Check out our most recent video tutorial:
Method Benefits
- No more expensive user licenses! All you need is one account to create dashboards in Tableau and push them to your screen.
- With Fugo, you only show off the visualizations you want and hide the stuff you don’t. Our intuitive software lets you edit screen captures so you’re hiding sensitive information from unwanted attention.
- You don’t need a fancy display to push Tableau dashboards to a screen — all you need is a TV. Don’t have a digital signage player? We can help with that, too!
Method Caveats
- If you don’t have any display screens at your workplace or manage a distributed team, you should look for a more digitized option like Embeddable Company Channels.
Share Your Tableau Dashboards With Embeddable Company Channels
With Fugo, you can also create a digital company channel to house your Tableau dashboards. Employees can access mission-critical details right from their browser, which means you never have to pay extra for viewer or guest licenses.
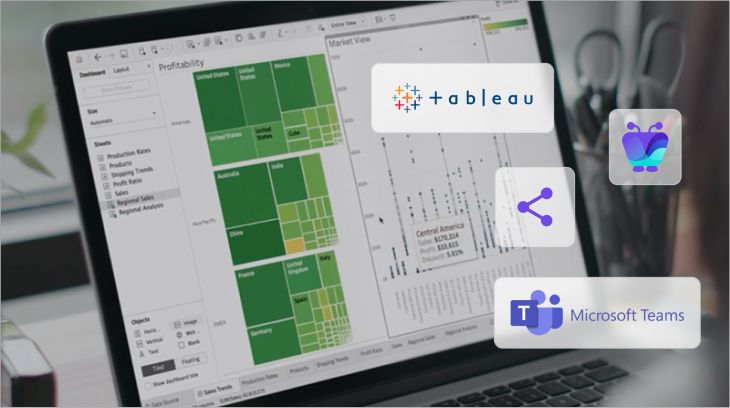
You can either share your Tableau dashboard(s) through a secure link, or embed the channel directly in your company portals (like Confluence, Notion, and Microsoft Teams) so everyone can see them at once.
Thankfully, this isn’t hard to do:
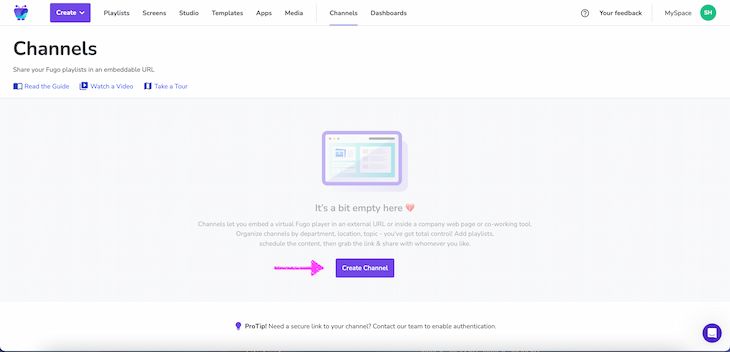
1. Create an Embeddable Channel on your Fugo account. This is available even during our 14-day free trial!
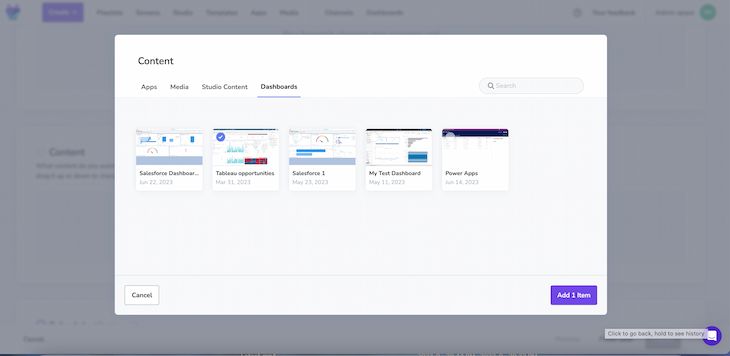
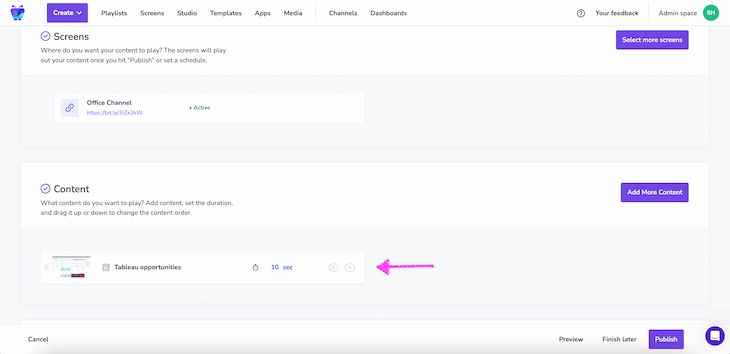
2. Add content to your channel (which in this case, is your Tableau dashboard). Fugo can help you quickly connect to Tableau via login and display each dashboard or report for a custom period of time.
3. Now you can share the link to your channel or embed the video into a company portal. If you’re not sure how to make a secure link, you’re welcome to reach out to the Fugo helpdesk.
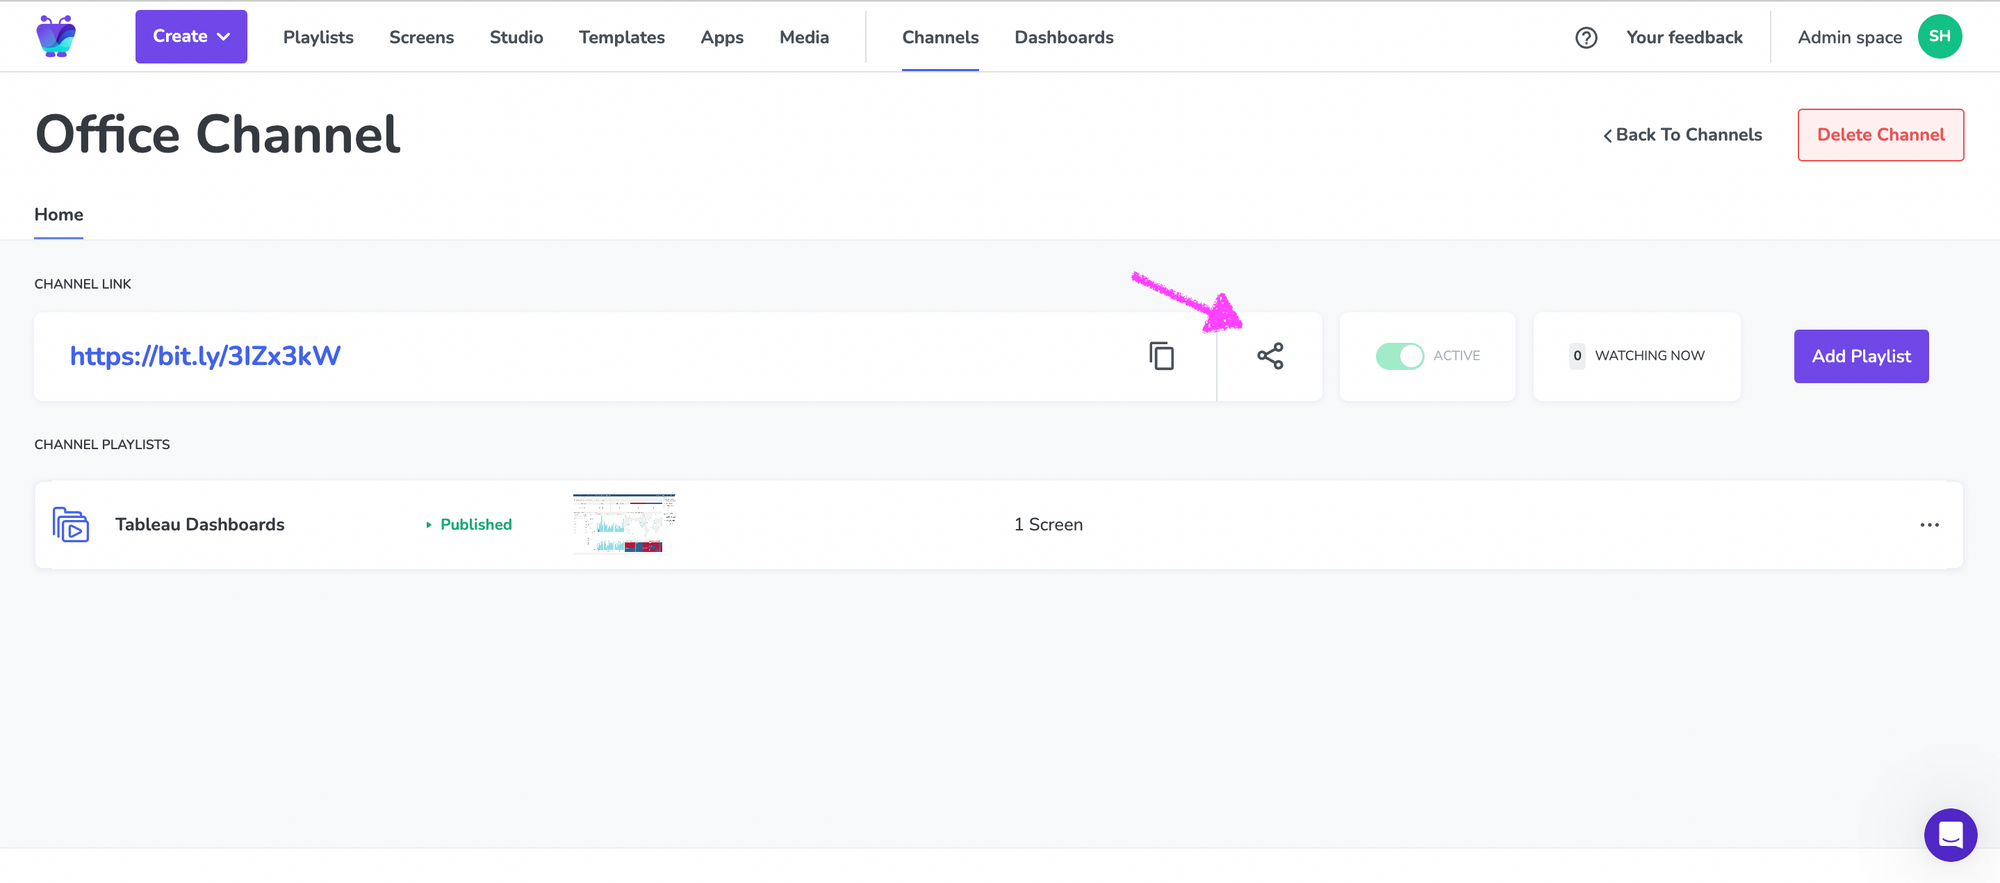
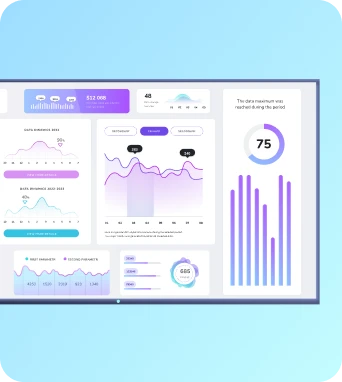
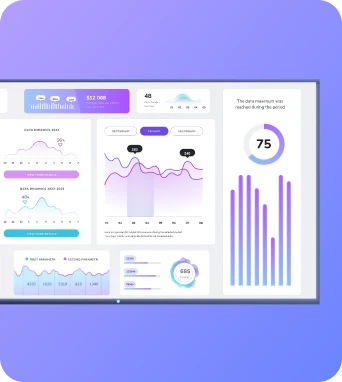
4. That’s it! Now you can display vital information directly through a virtual TV channel. Here’s a glimpse of what that could look like:
For a crash course on how to set up your own virtual company TV channel, check out our guide.
Method Benefits
- This method is perfect for hybrid, distributed, or remote teams who need access to the same Tableau dashboards on different devices and locations.
- Everyone on your team has access to a single secure link that reduces credential exposure and defends your business data.
- Since you can display digital company channels on multiple company portals, you can easily share your Tableau data without spending extra on users licenses.
Method Caveats
- If you manage an in-person team with a more centralized workforce, it may be better to use TV displays to share dashboards with your team.
Fugo: The Best Way To Share Tableau Dashboards
Tableau offers lots of ways to share dashboards with people inside or outside your team — but not many ways to do both at the same time. Since you have to purchase multiple licenses or set up guest accounts, it could be expensive and time-consuming to get data to the right place.
Thankfully, that’s where Fugo comes in.
Fugo makes it easy to display and protect your Tableau dashboards for the right audiences at the right time. Anyone in your organization and get up and running in a few hours; there’s no need for IT know-how or expensive hardware.
Plus, Fugo never requires you to purchase multiple licenses to view your dashboard. Everyone on your team — whether in-person or remote — can seamlessly view your dashboards without worrying about extraneous licenses.
But why take our word for it when you could test us out instead? Our 14-day free trial is perfect for setting up a display or channel in just a few minutes. Otherwise, feel free to book a demo to get a customized tour of what we can do.

