


Author: Vivian Tej
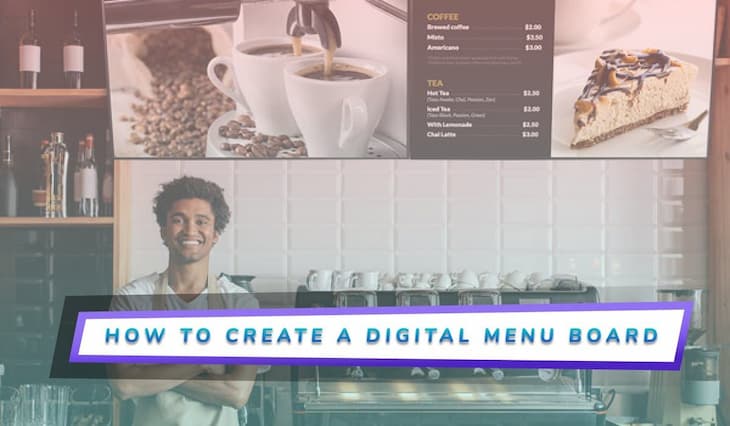
Graphic design skills? Costly digital menu board software? Extensive technical experience? Yeah, these days you don’t need any of those things to create a digital menu board you can be proud of.
Ditching your traditional print menus for a digital menu doesn’t just give your restaurant an instant facelift, it also makes your menu infinitely easier to manage. Without the burden of having to reprint paper menus every time you make a change, you have an easier time experimenting with offers, different menu designs, upsells, or even changes in pricing.
In this guide, we walk you through the basics of what you need to know to easily create, display, and manage your digital menu board. You might want to bookmark this one for future reference. 😊
The benefits of digital menu boards
Let's talk about the benefits for a bit. Are there really tangible benefits to adopting a digital menu board model? Here’s a quick look at a few of the best ones:
Manage your menus faster: It doesn’t take a genius to realize a digital menu is eons easier to manage than printed ones have ever been. What’s that? Your designer messed up the pricing on all your dishes? Yeah, that sounds like a bad time if you ask us. A digital menu board lets you make edits whenever you feel like it and especially when you mess up.
Ditch ongoing printing costs: Going along with ditching printed menus, you’re able to ditch the printing costs associated with them. It’s the little things that add up over time, ya know?
Add seasonal promotions on a whim: The holidays are busy. Why add “print signs and menu add-ons for our seasonal promotion” to your plate when you could just add it to your digital menu design within a few minutes and even fewer clicks?
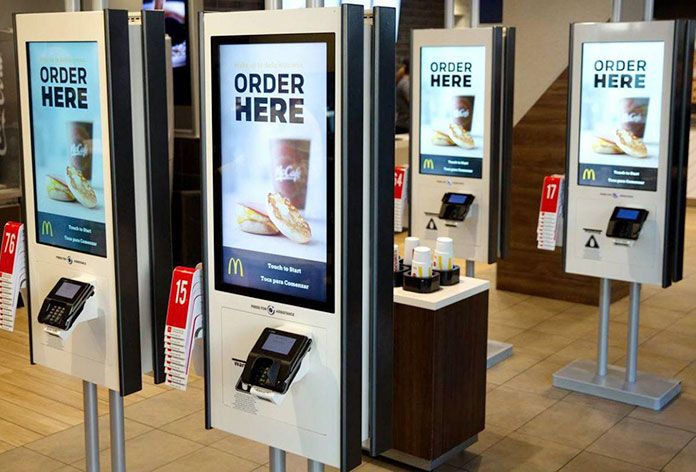
Upgrade the look and feel of your restaurant: A restaurant that’s stuck in the 70’s is only cute when that’s the look you’re going for. Otherwise, you don’t want to look like the forgotten food joint whose stove somehow still turns on. Upgrading the look and feel of your restaurant can help you draw in new customers and increase customer loyalty. As you probably already know, a restaurant is about more than just the food. It’s a whole customer experience.

Sanitize, sanitize, sanitize: Who wants to deal with greasy menus these days? Definitely not a whole generation who had a front seat to the whole pandemic. Digital menu boards keep both your employee and your customers from having to handle printed anything. Once you display your prices and your menu offerings on screen, it’ll help you streamline the ordering process.
By now, you’re probably asking yourself how you can actually create a digital menu board. Though it sounds complicated, it doesn’t have to be. It’s what we dive into next.
How to make a digital menu board
To design a digital menu, you don’t need the design skills of a graphic design expert. However, you do need usable design software. Preferably one that makes your life easier. Here’s a look at three solid options you can start using right now.
Fugo
Call us biased, but the number one tool we recommend for the process of creating your digital menu is Fugo’s Design Studio. Why? Because it gets rid of the clunky extra steps you need to take when you use a third-party design tool.
With Fugo, once you design your digital menu exactly how you want it, you’re able to schedule it right onto your digital display right from the same dashboard. No trying to find a USB stick to display third-party files and no more crossing your fingers hoping you sized your menu right for your particular screen. Fugo takes care of all of that (and then some).
You can read the full guide on creating digital menus in Fugo here.
Try it out for free here and start creating your menu with one of our many ready-made templates.

Canva
Say, for whatever reason, you want to try to create a menu with something other than Design Studio. Well, you have a few other options - in this case, Canva. You can get away with using it for free if you aren’t too picky about your menu sizes and have access to pretty useful design tools that you don’t need to be a genius to use.
One of the perks of using Canva? It also comes with some accessible templates that you can use to avoid starting from scratch. Once you download your designs, it’s only a matter of uploading them to your digital display manager successfully.
MustHaveMenus
The name’s a dead giveaway, but MustHaveMenus is yet another design tool at your disposal. The great thing about it is that it was specifically designed for your menu design needs and you can start using it for free.
It comes with plenty of templates, graphics, and images so you definitely have options. However, if you want to get access to advanced features like different types of file downloads, custom sizes, and the ability to add QR codes, you’ll want to go the paid route.
Digital menu board software - how to display your menu on tv screens
Once you’ve got your menu and your screens, you’ve got to connect the two.
If you try hard enough, you can eventually figure out a way to cobble together a digital display setup that’ll enable you to display your menus on your tv screens (we’re talking DIY methods like USB sticks or HDMI cables attached to computers - YIKES.) But as with a lot of things in life, there’s an easier way to go about it.
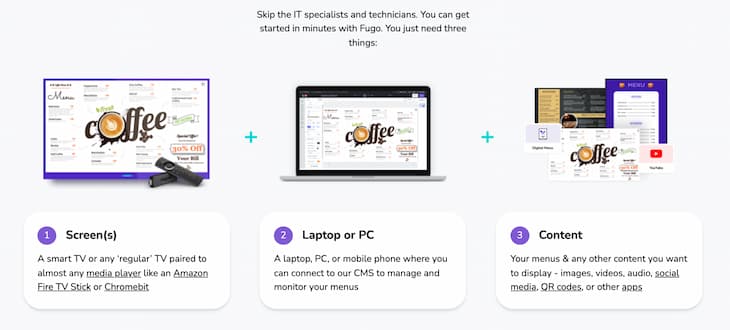
Fugo equips you with the trifecta. In other words, it’s the software that makes the digital displays possible. It enables you to:
- Design your digital menus
- Schedule them with flexibility & ease
- Publish them to screen
- Monitor & update your menus remotely
Here’s how to get your menus up on screen
1.Pair your screens with Fugo
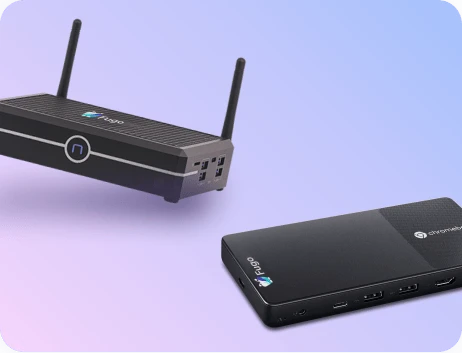
First off, you’ll just need to connect your screen to Fugo CMS. You can read more about how to do that here. If you’ve got a smart TV, you can search for the Fugo Digital Signage Player app in your app store & follow the instructions to pair your screen to our software.
If you don’t have a smart TV, all you need to invest in is a cheap media player, like an Amazon Fire TV Stick 4K (around $40) and plug it into the HDMI port at the back of your TV. Once your screen’s connected, you can use the same process to download the Fugo app and get your menu onto your TV screen.
Note: We support most commercial & consumer media player device platforms - you’ll find the full list of supported devices on our hardware page.
2. Create or upload your menus
Once your screens are paired, it’s time to add your menus to them.
If you’ve created your menu elsewhere, you can add them to your Media library in your account. Or, if you have them saved in Google Drive or Dropbox, you can use our native integrations to display them on screen as well.
If you want to create your menu inside Fugo, you can get started with one of our digital menu templates or build your menu from scratch in our design studio.
Anytime you need to make a change or you update your menu, simply re-upload the image or make your changes within Fugo Studio. This will update the content on your screens in real-time.
If you have multiple screens across locations, as long as they’re connected to the same Fugo account you only need to follow the steps above once. Any changes made will be reflected on all selected screens. This makes it easy to manage all of your restaurant TV screens from one tool.
3. Schedule your menus
Once you’ve uploaded or created your menus they’ll be present in your Fugo account (in your media library & studio content library, respectively.) You can publish them immediately or schedule them in advance - but either way, you’ll need to start by building a playlist with your menus.
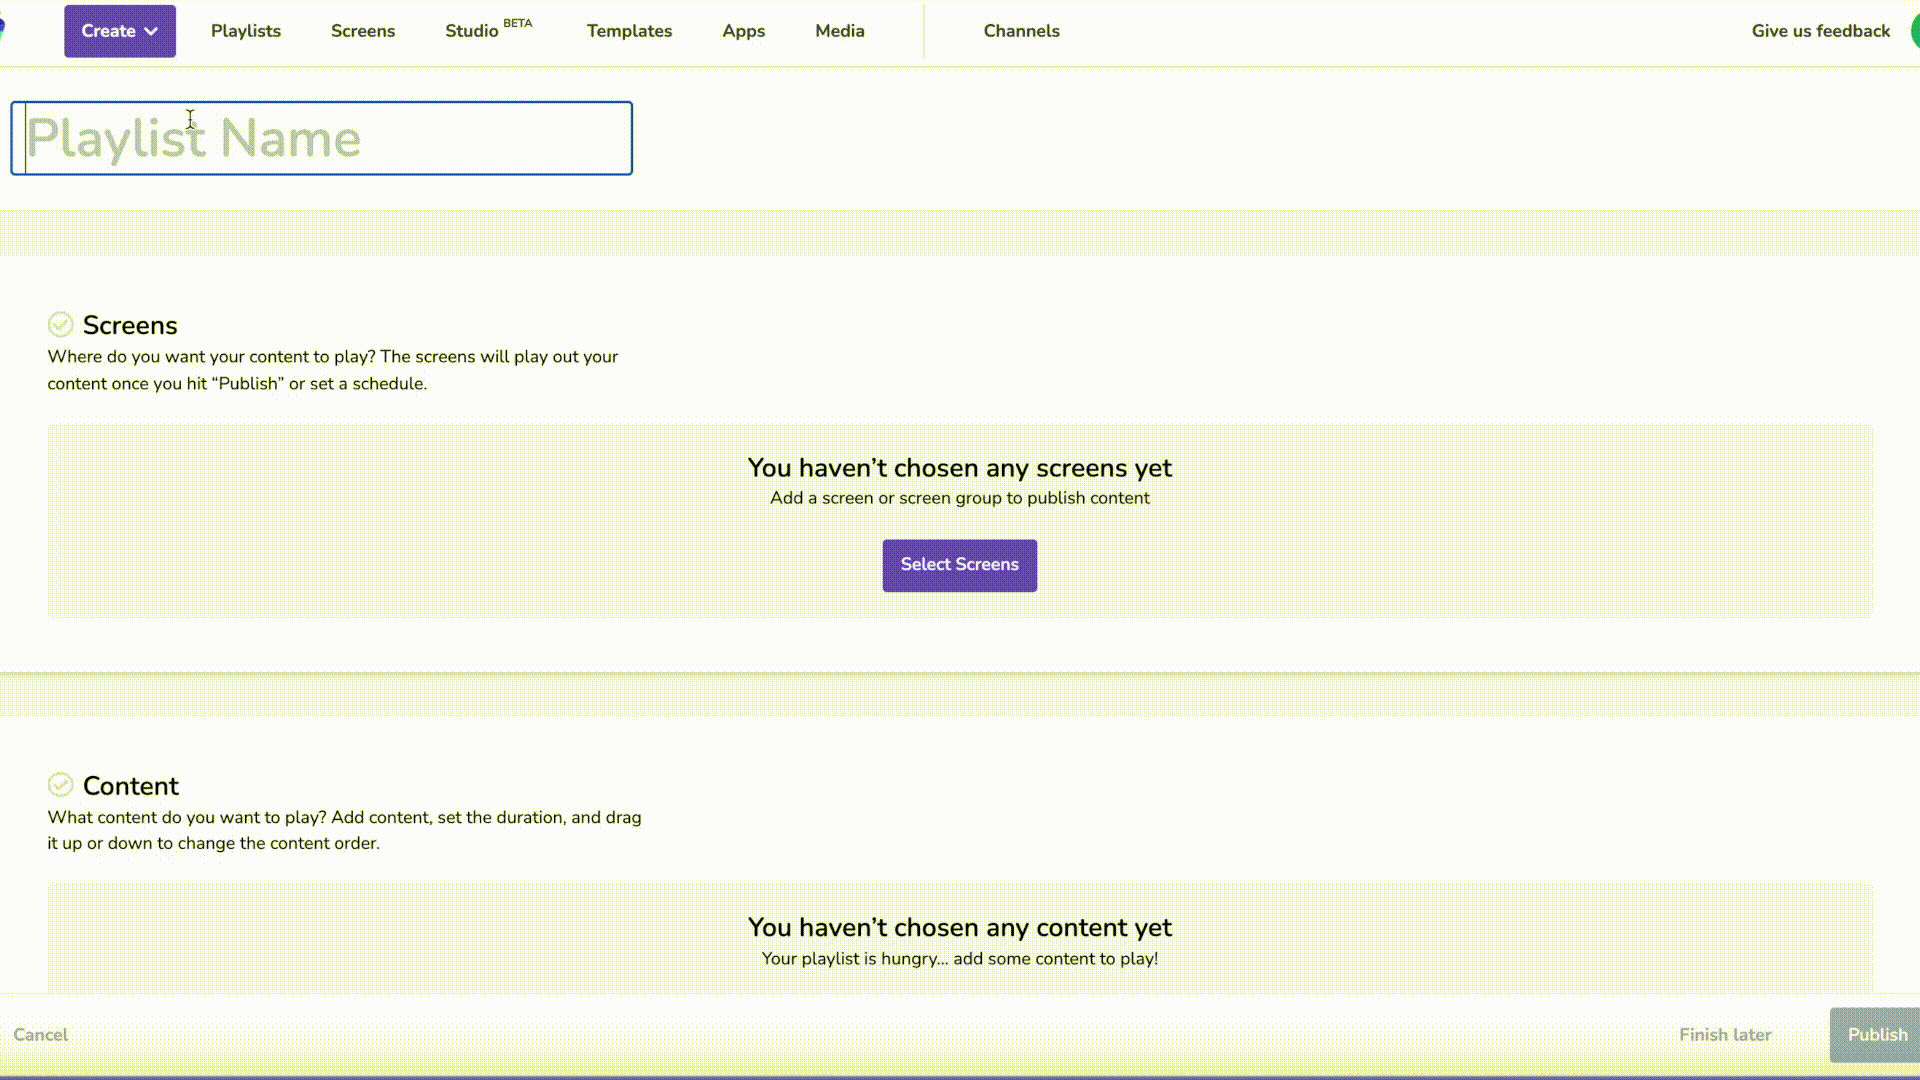
Hitting Publish will launch them to your screens right away. But let’s say you need some more flexibility. You’ve got menus for different meals - breakfast, lunch, dinner, or happy hour, even holiday promotions.
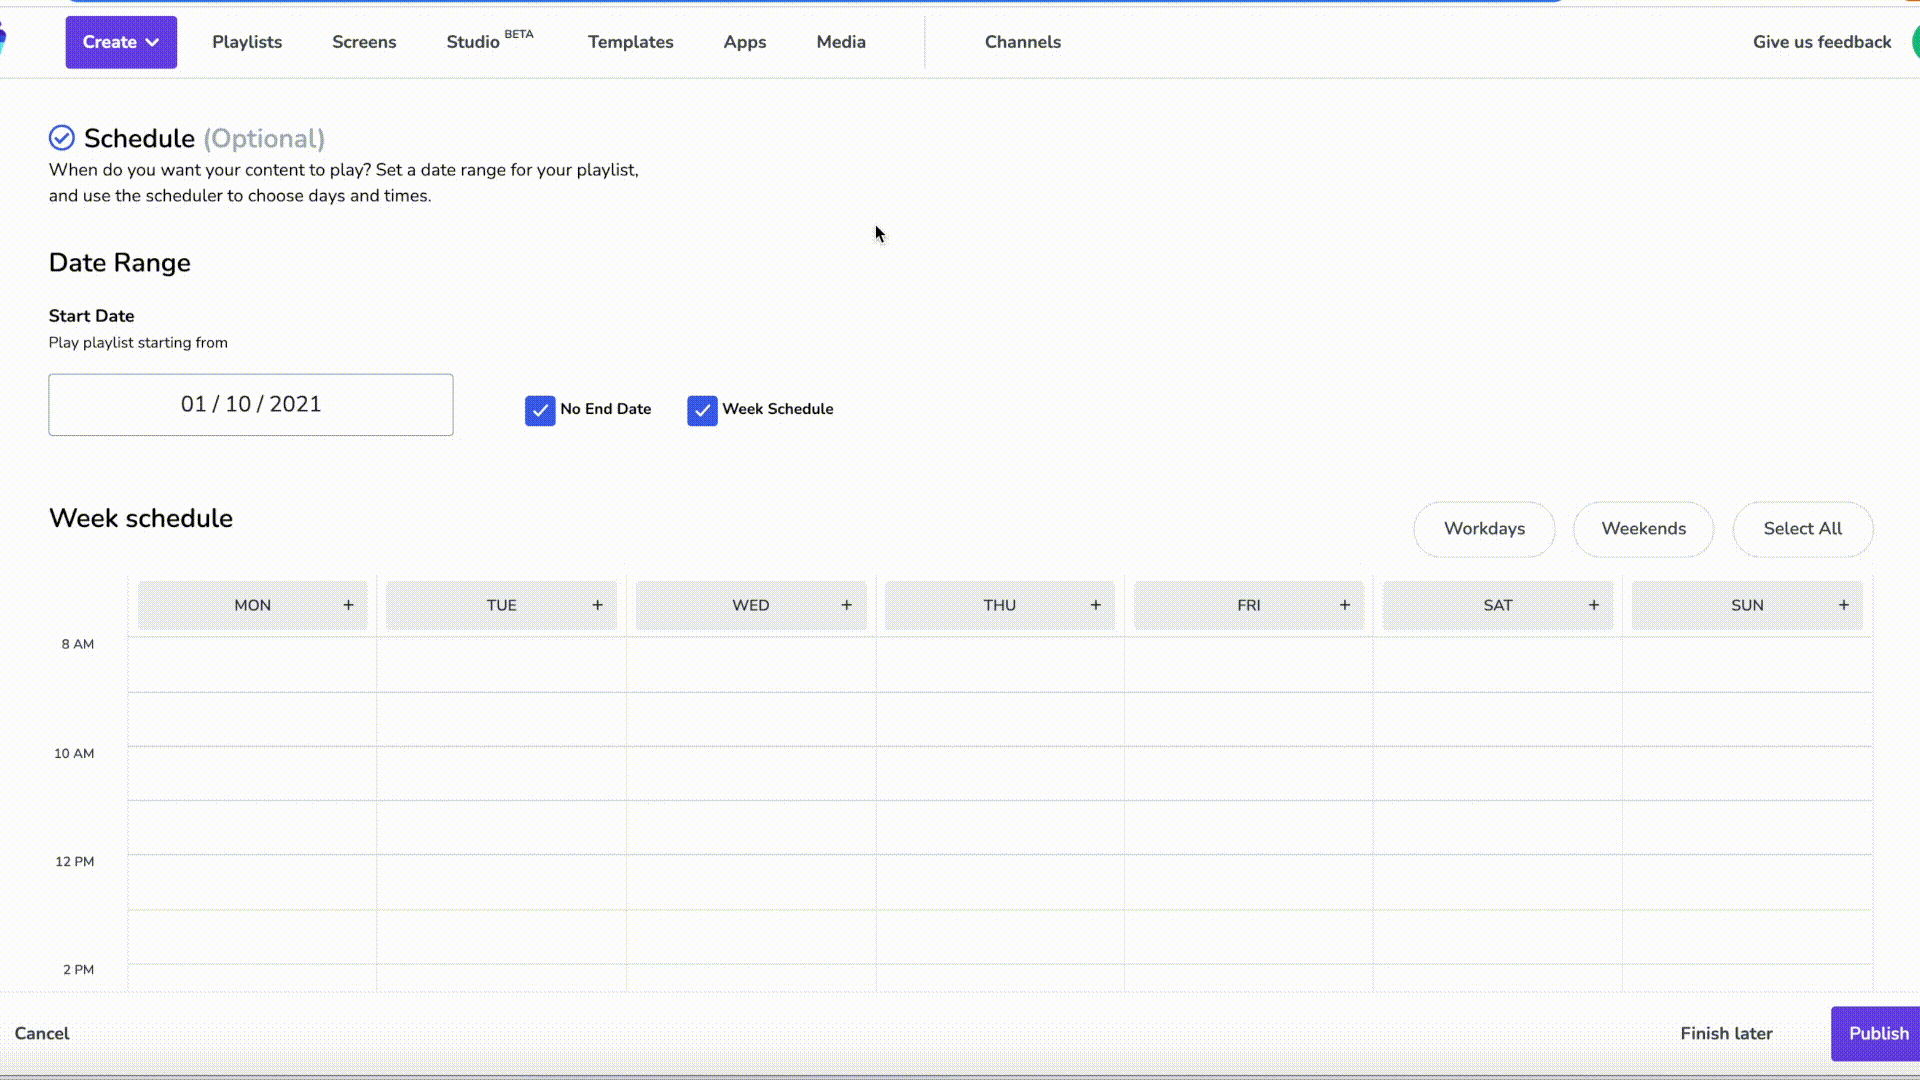
You don’t want your happy hour menus running at breakfast (unless you do...no judgements from us) or your Christmas promotion in February. Here's where scheduling comes in. Fugo allows you to get as flexible & granular as you need.
Playing your menu at certain times of the day (dayparting)
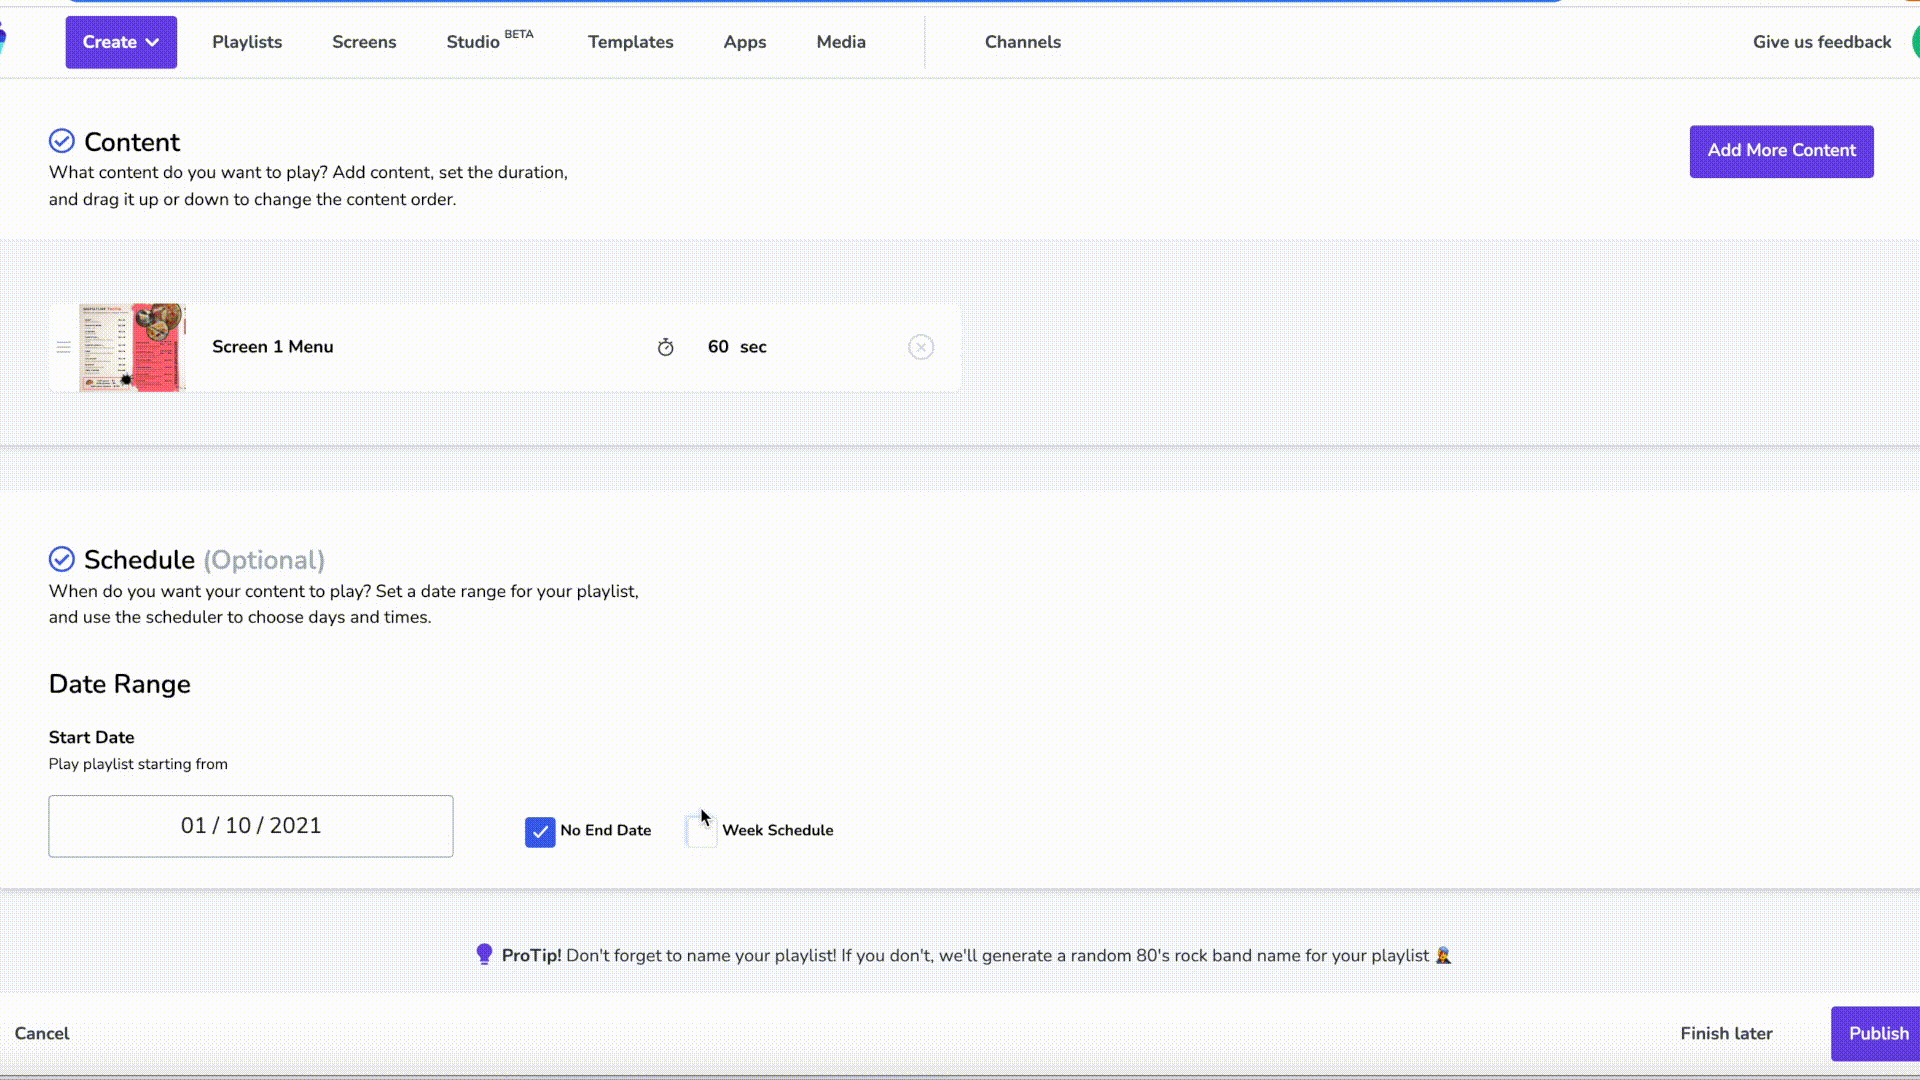
Playing your menu on certain days of the week (weekdays only, weekends only, or a combination of days)
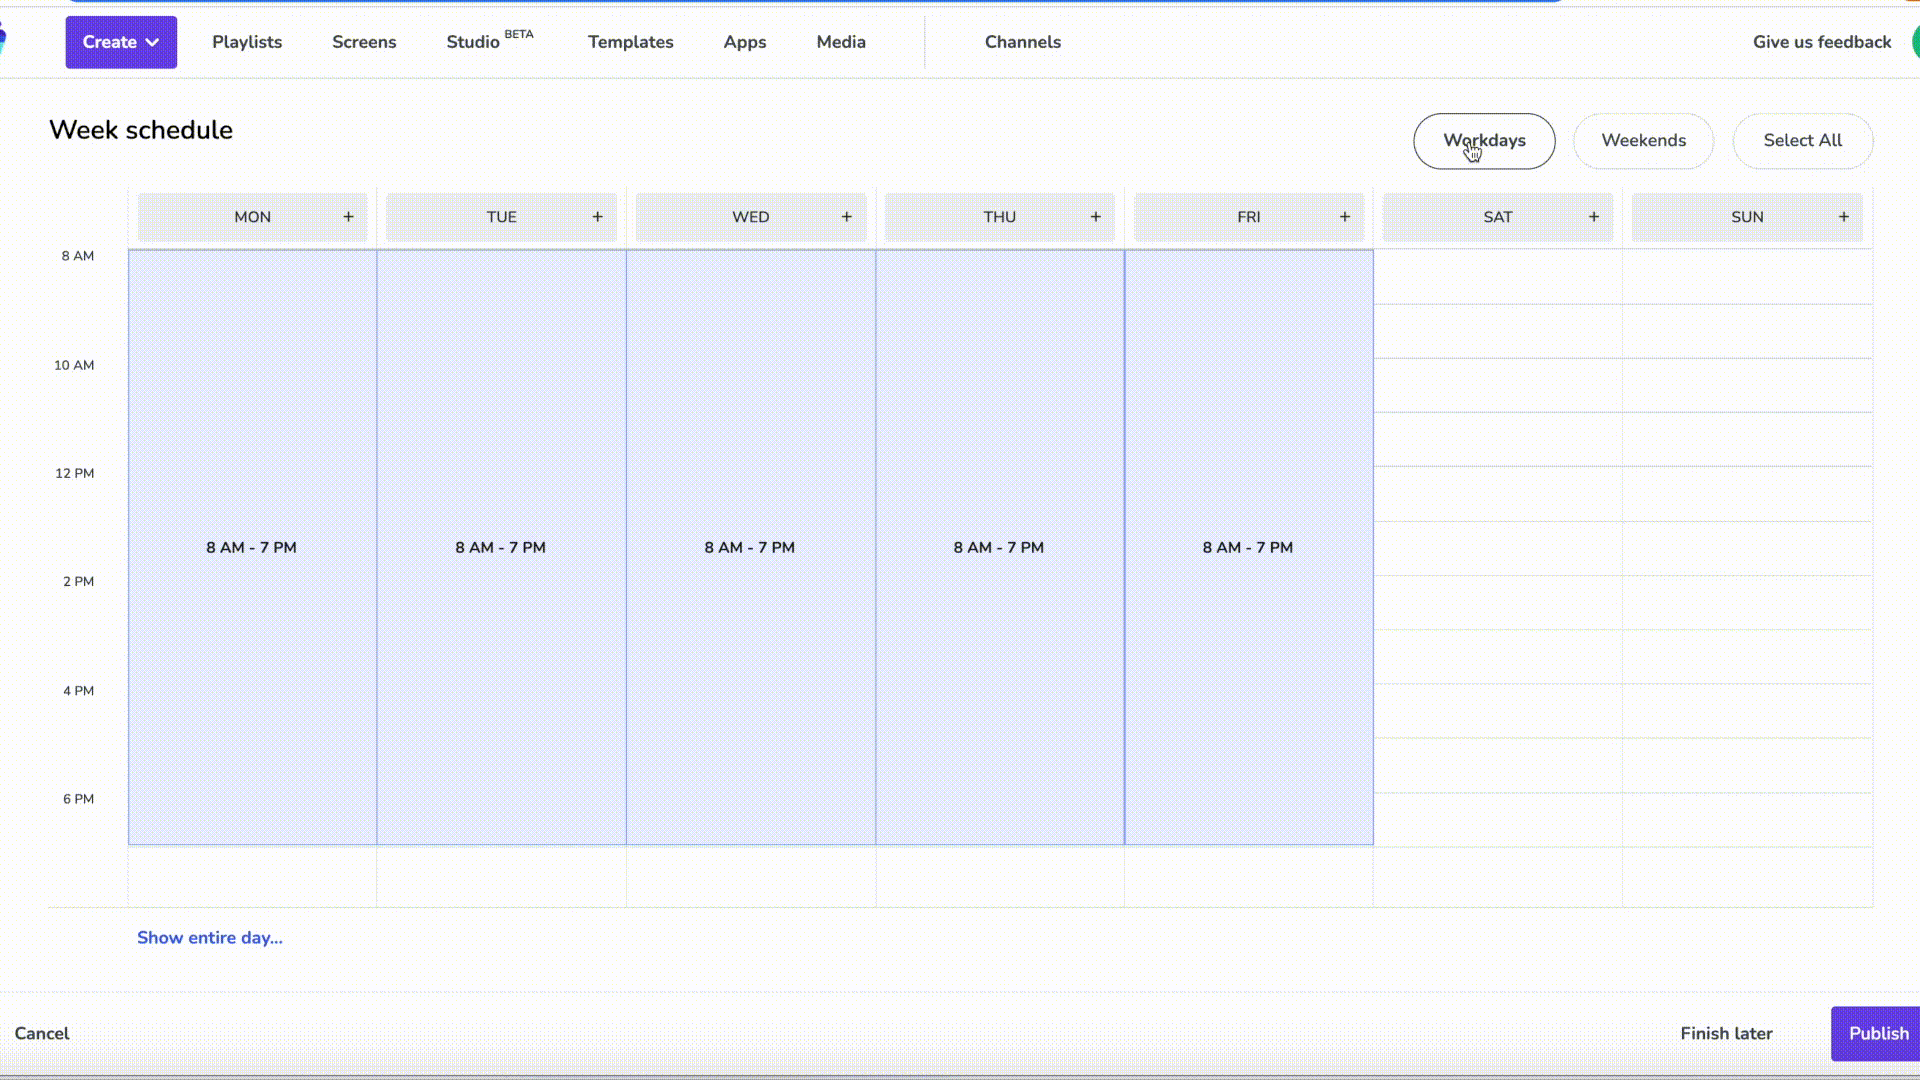
Playing your content for a predetermined set period of time (this makes it easy to run limited time offers or holiday promotions.)
Digital menu board design best practices
If you keep some design basics in mind, creating your own digital menu becomes easier - and you won’t get stuck with a menu you’re unhappy with. Here are a few pointers to keep in mind.
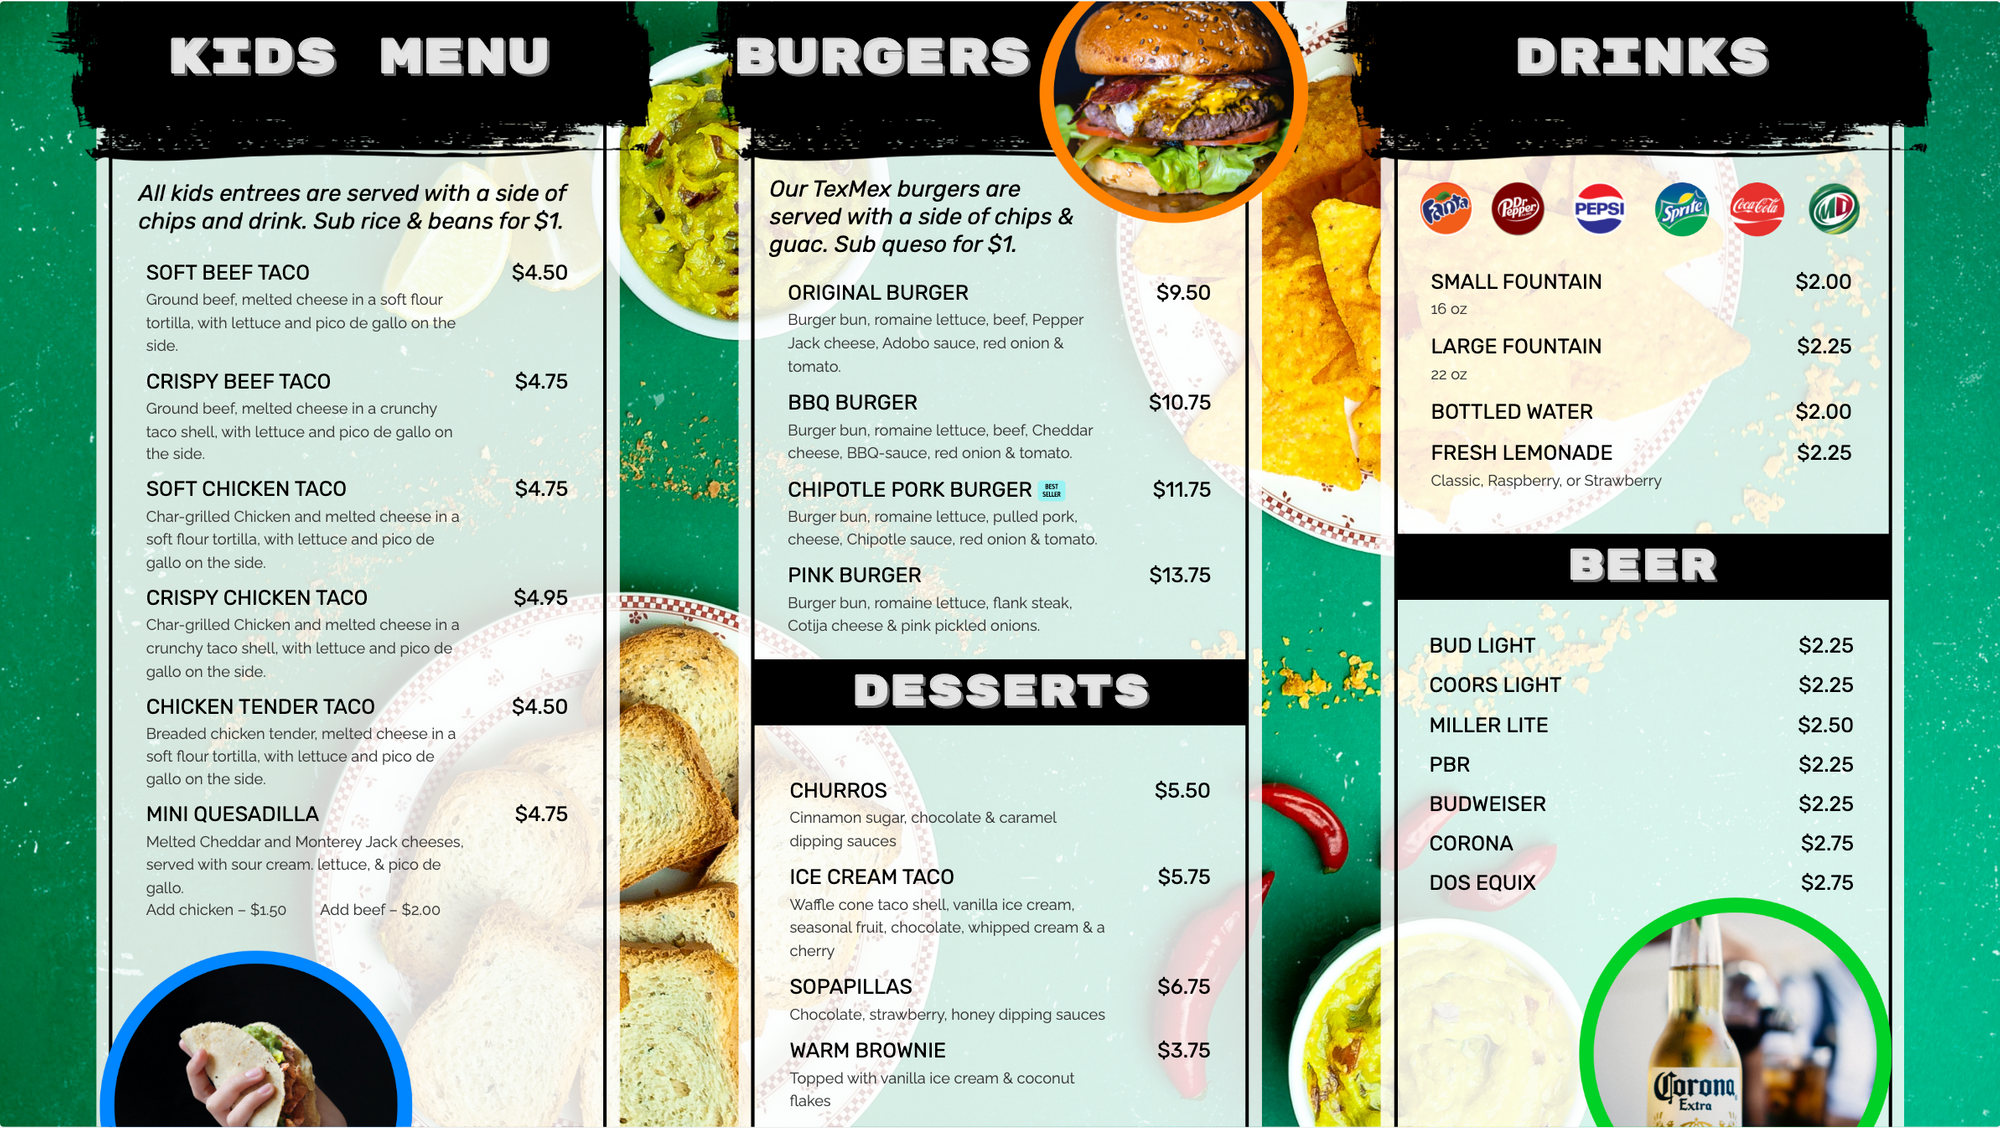
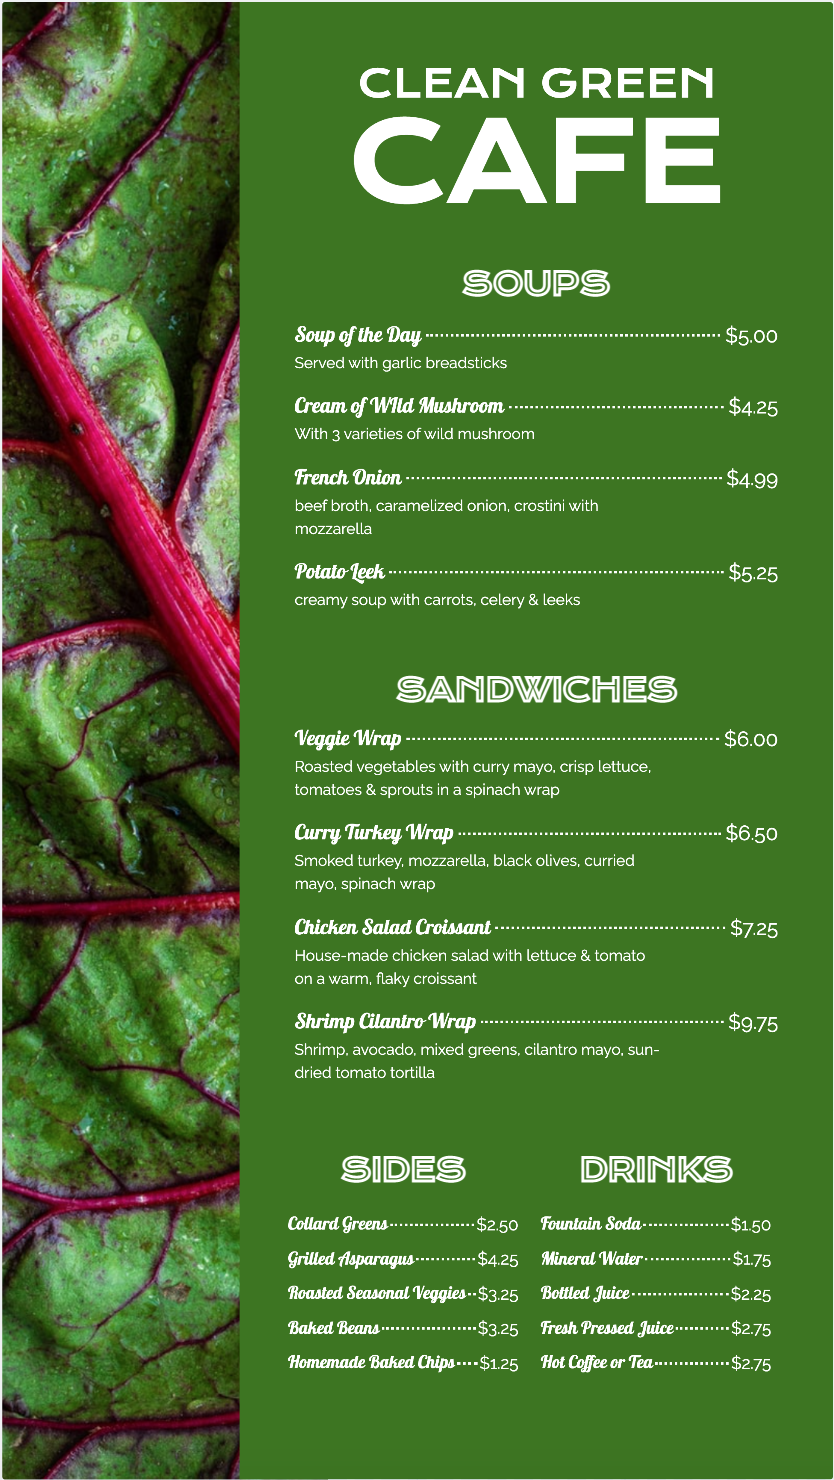
Keep away from clutter
Ah, clutter. It isn’t pretty in your house and it also doesn’t work when you’re trying to create an appealing menu. When you create your menu, you want to make sure you stay away from clutter as much as possible. Give your menu listing and images ample space to exist within the parameters of your menu. This way, your customers can have an easier time finding exactly what they’re looking for - and your menu is easier on the eyes.
Pay attention to alignment
In the world of design, alignment adds harmony and character to anything you create, including menus. Are you listing your appetizers in one section? And your selection of soups and salads in another?
That’s great, but make sure each item is aligned the same - whether that’s left justified or aligned to appear in the middle of your page. The more aligned the elements on your menu are, the more professional your end result.
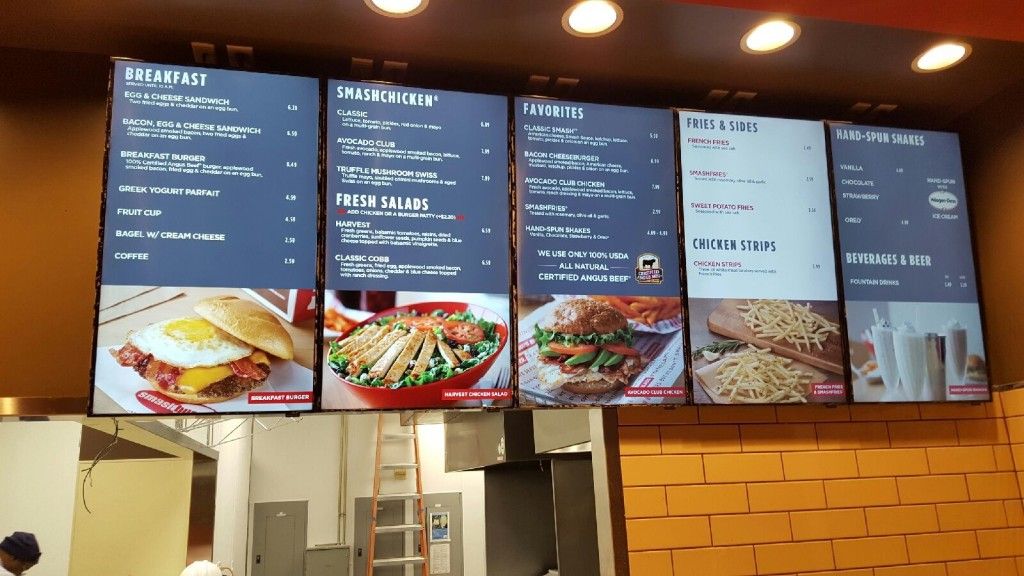
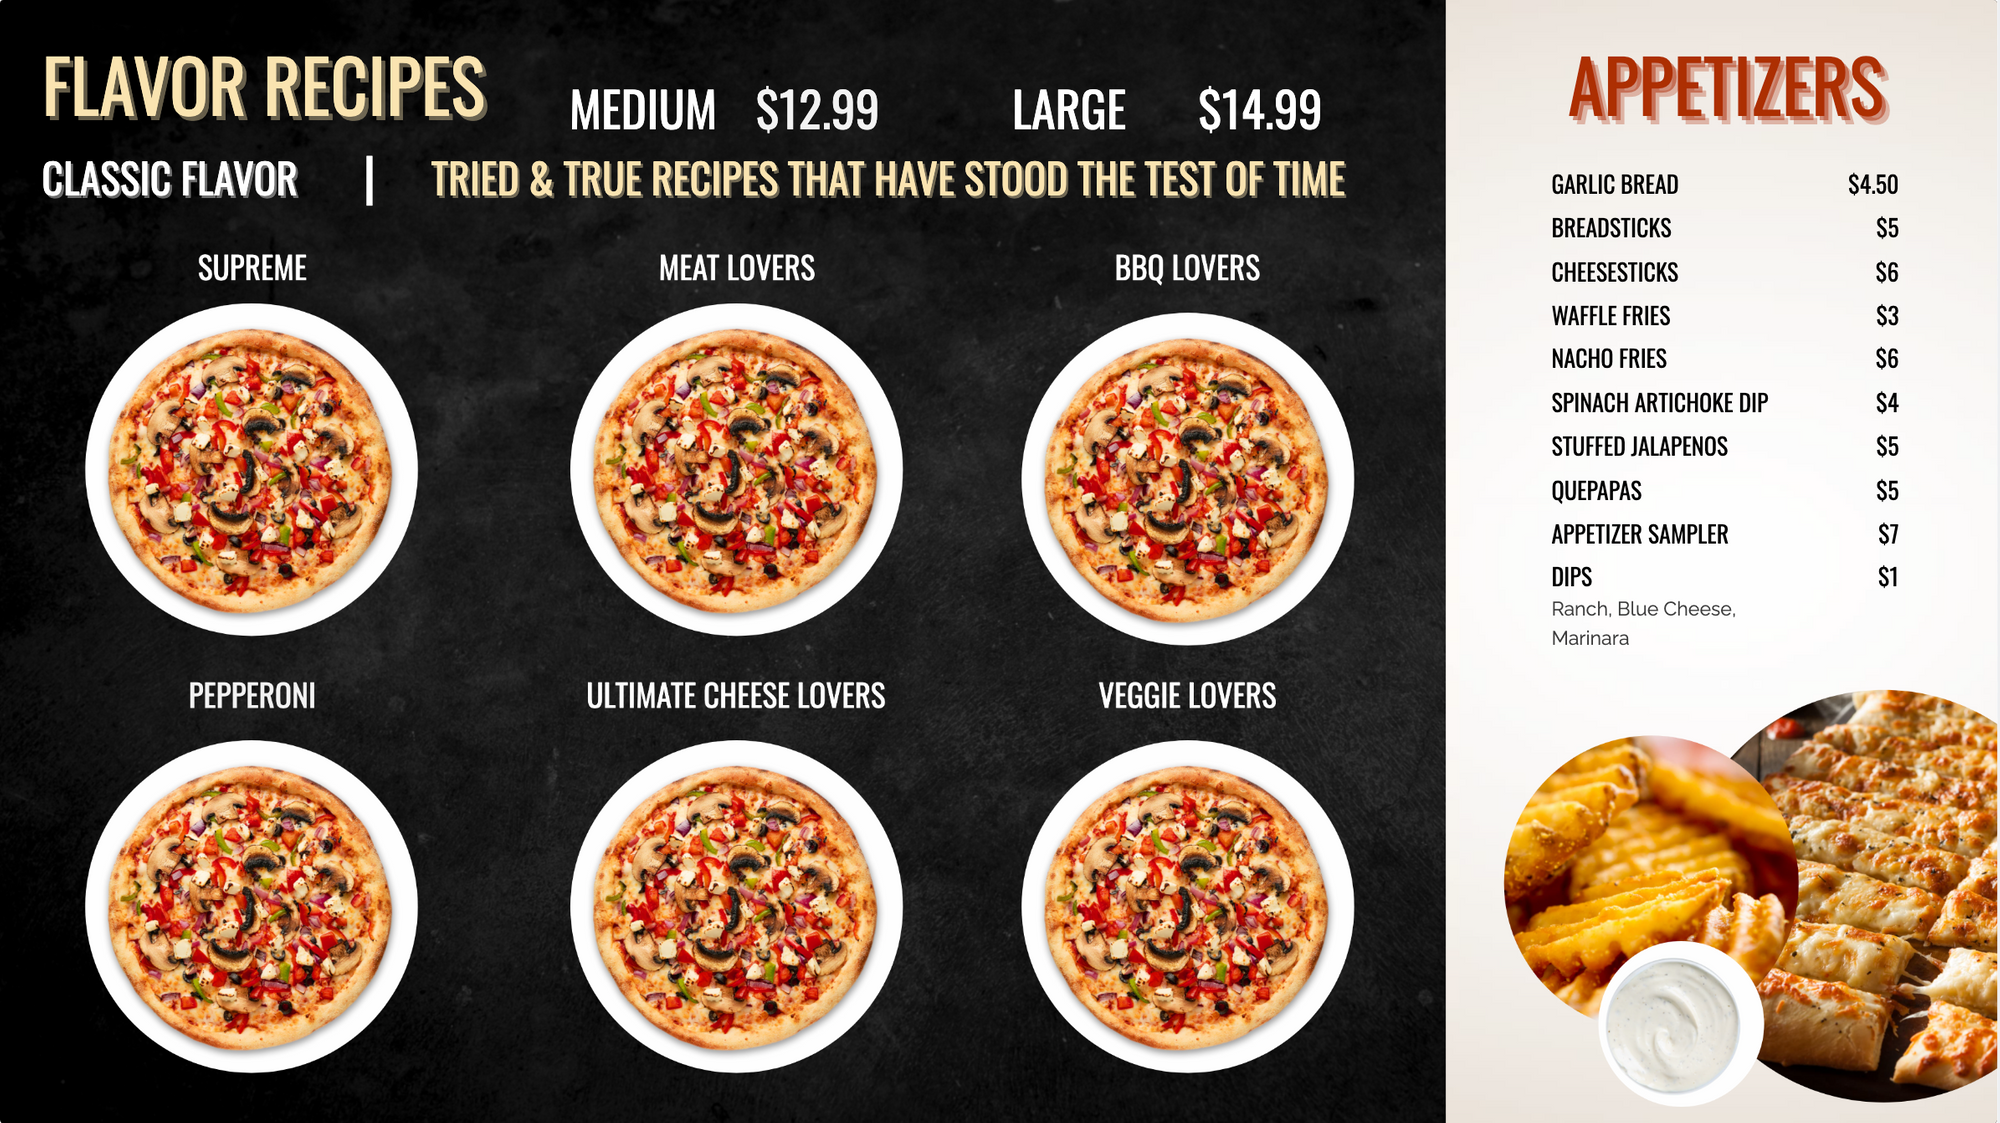
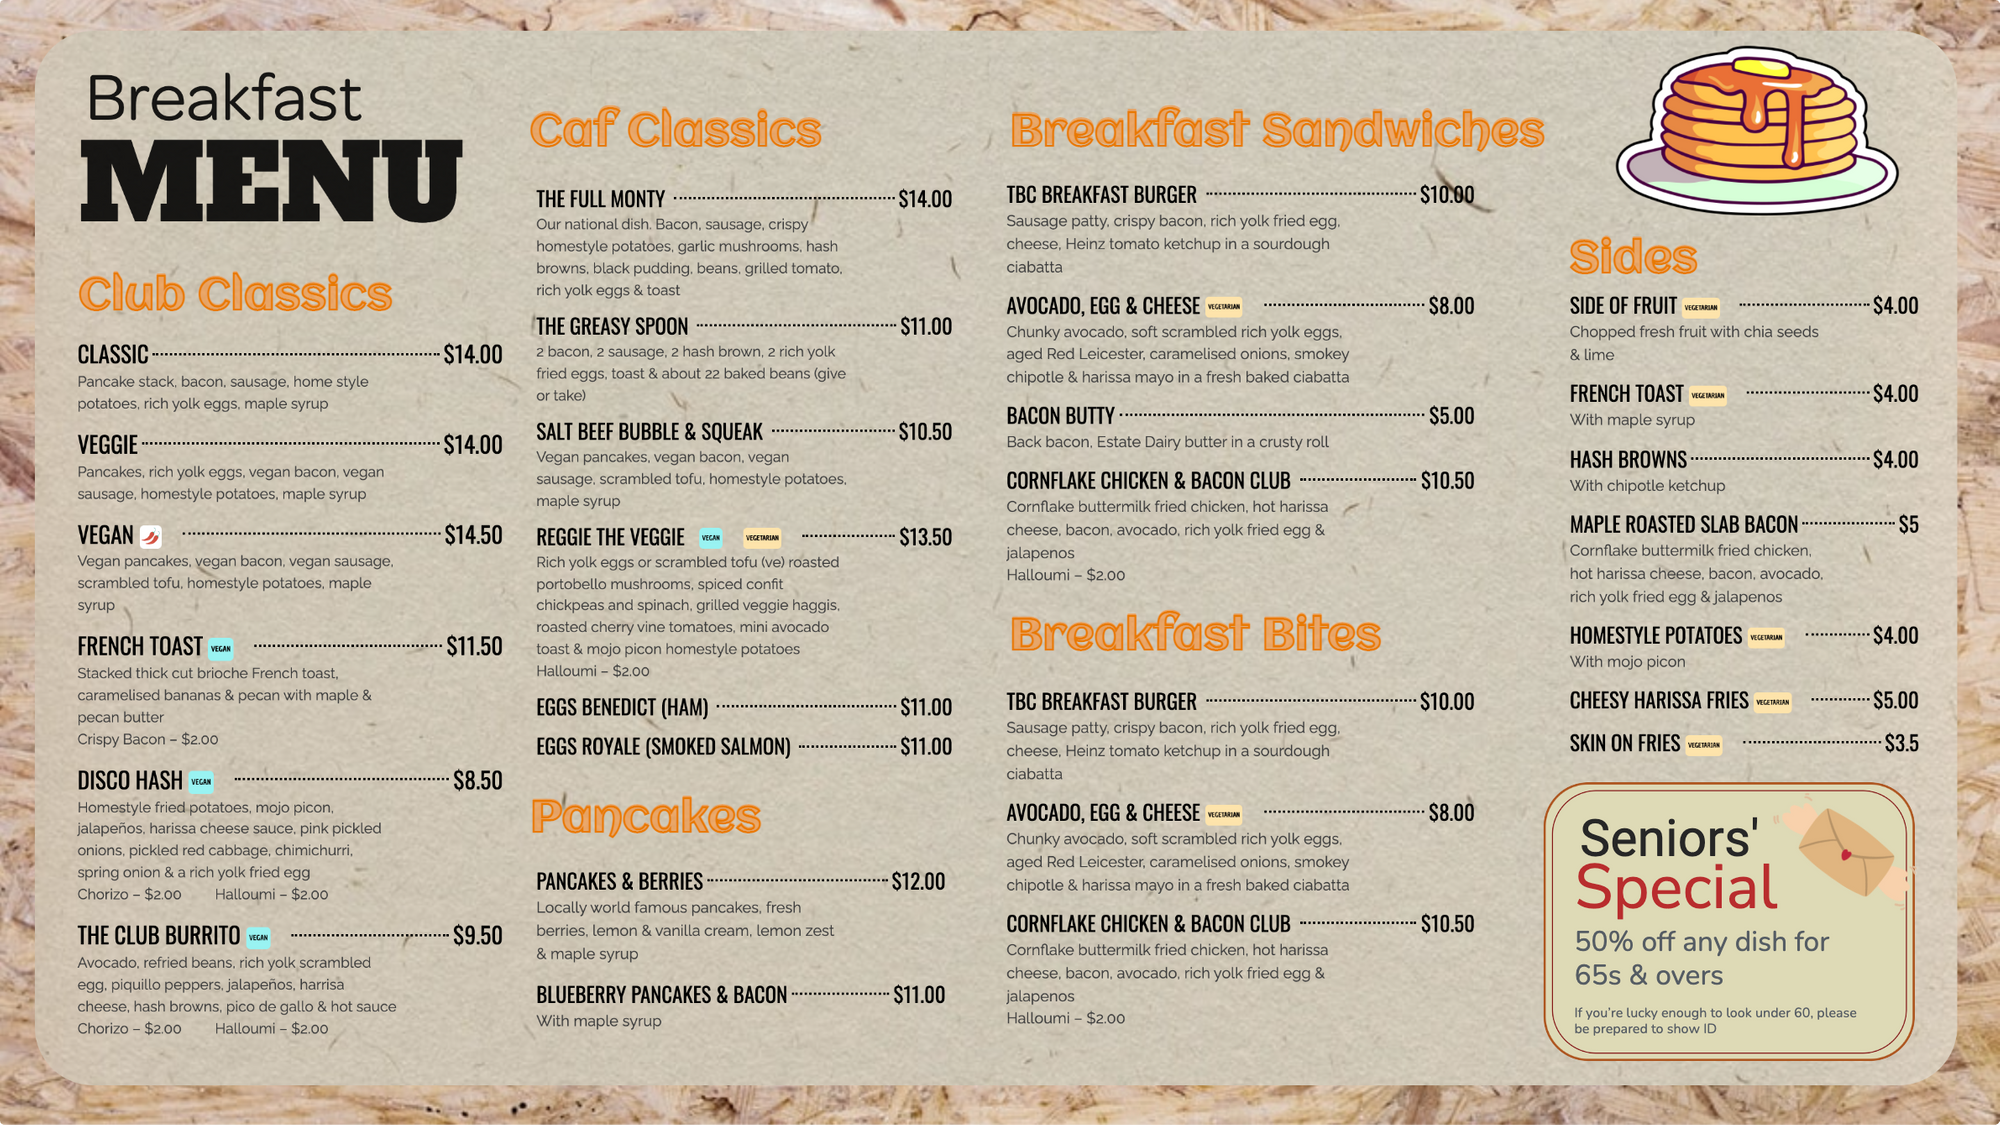
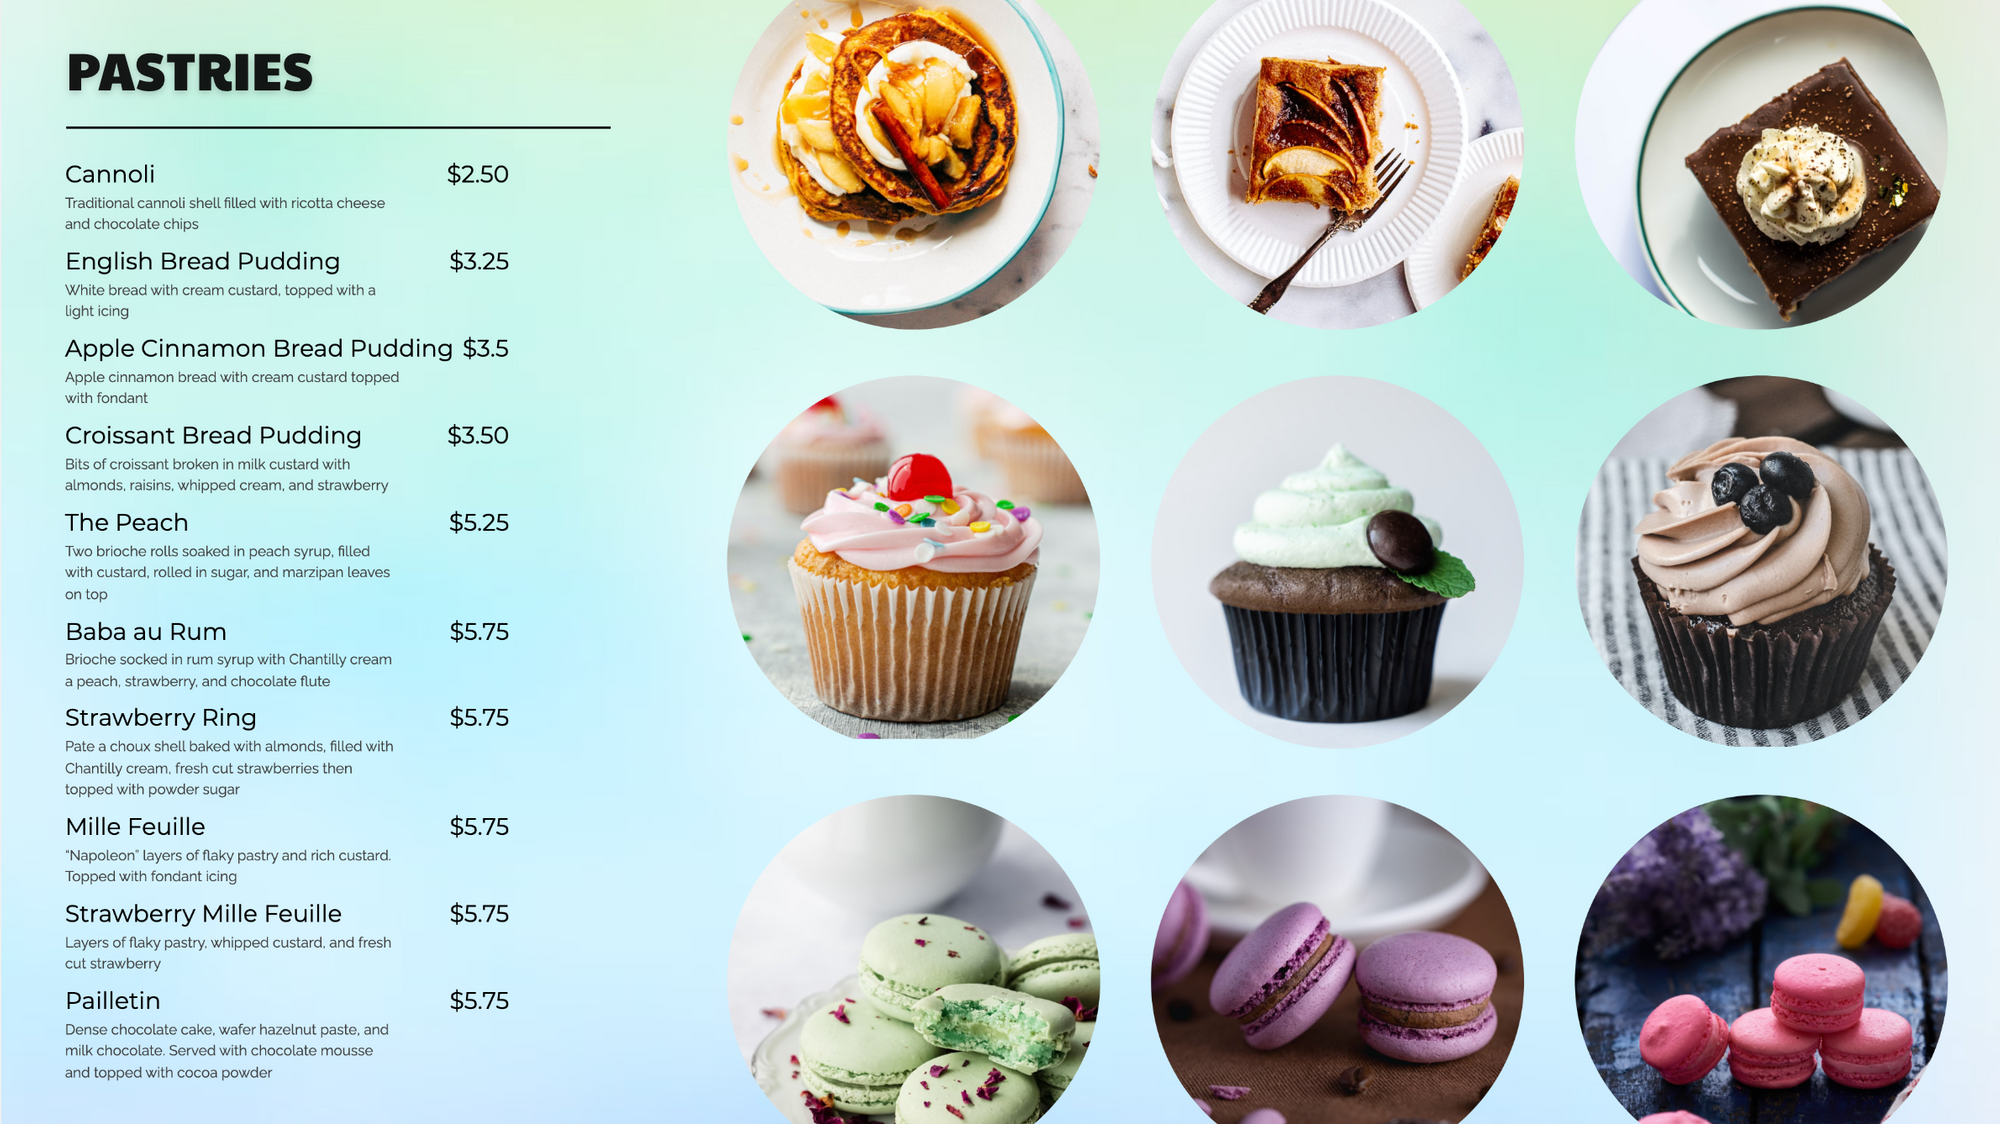
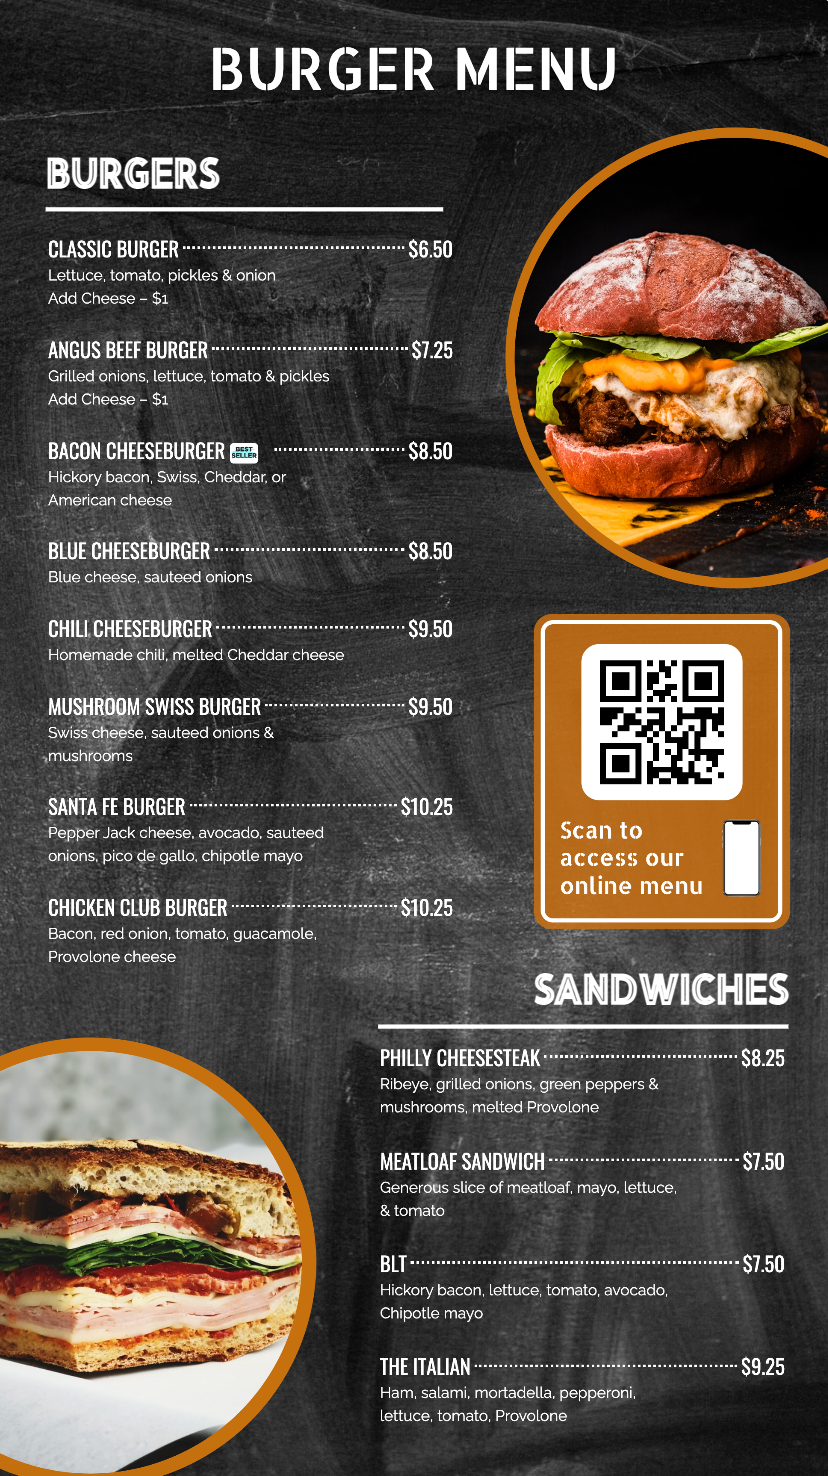
Add graphics when possible
Humans are visual creators. Adding images to your menu will ease the process of helping customers choose what they’re really looking for. You should take advantage of any extra space you might have to add an image of your menu offerings.
On the other hand, there are menus that are plain text and nothing else. That can work for you too - if it aligns with your brand. In the end, if you use images, make sure you commit to it all the way through. If you don’t, stick to plain text only for a more uniform look.
Use contrasting colors between fonts and backgrounds
Whatever you do, if there’s only one design rule you go by this one is it. When you’re creating your digital menu spreads, it’s important to ensure you use contrasting colors between your font and your menu backgrounds.
Though a lime green background and a yellow font might sound good in theory, your customers are going to have a hard time trying to find out what it is they’re actually looking at. This is why using contrasting colors, colors that are opposite to each other, is key to any design project.
What else can you do with your digital menu board?
Digitizing anything - in this case your menus - is the gift that keeps on giving. There’s so much more you can do with a digital menu board that goes beyond the basics.
For instance, you can:
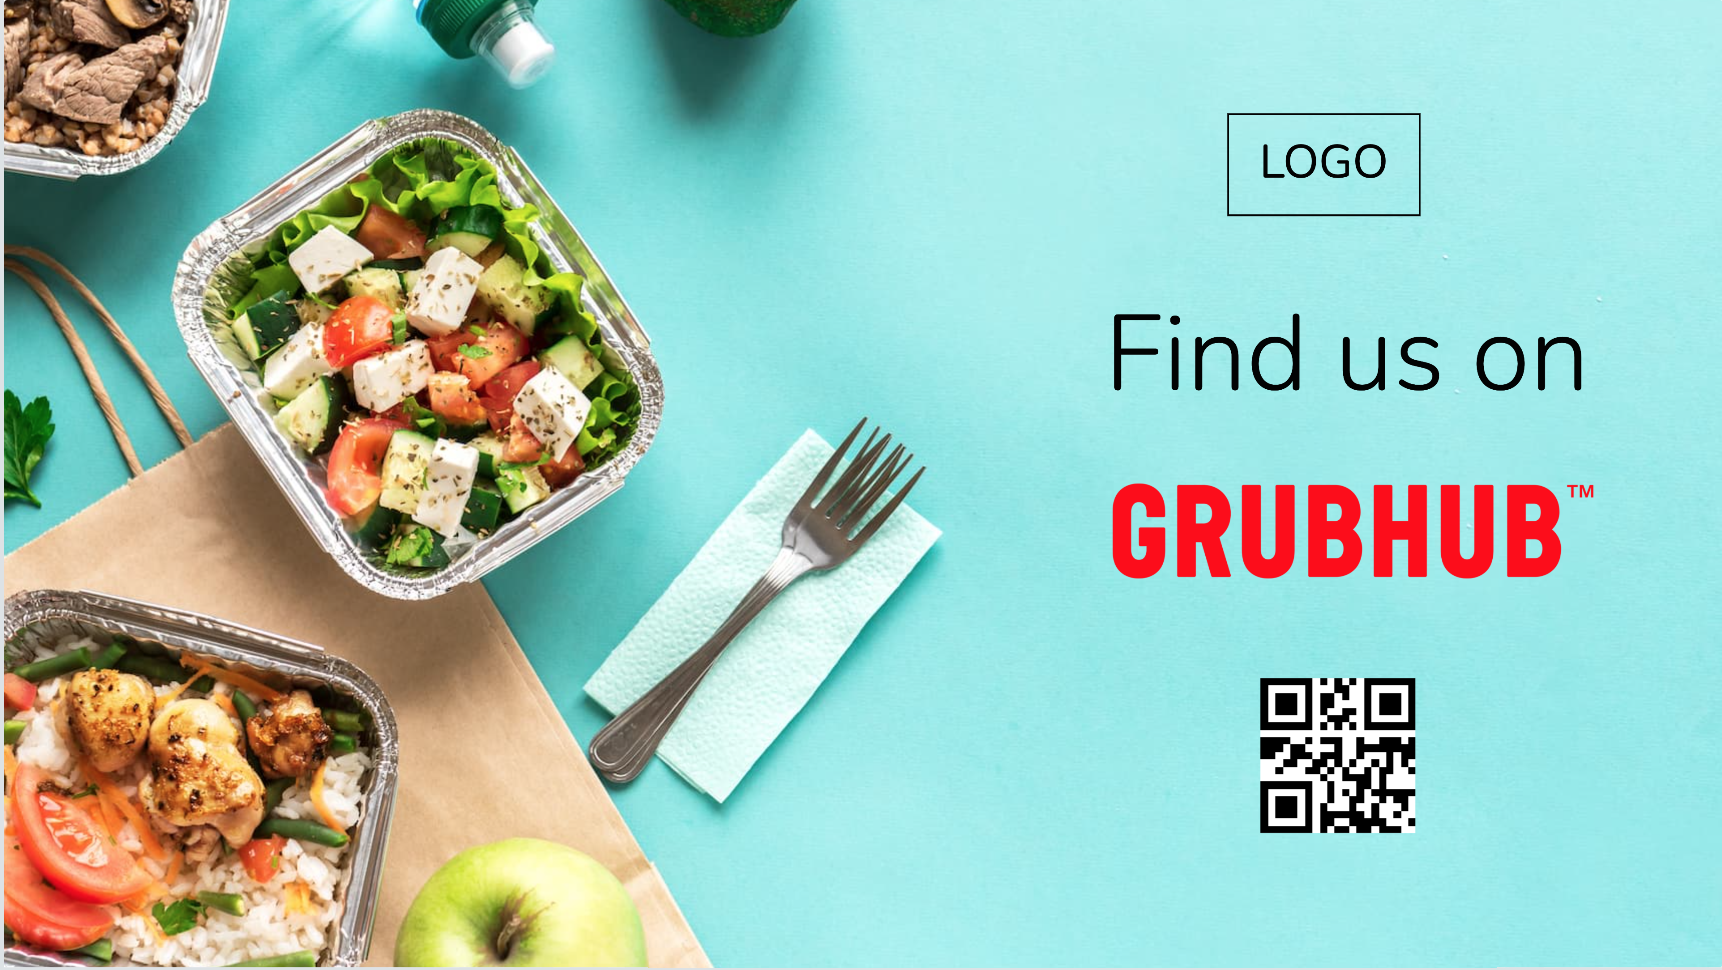
- Generate QR codes and add them in your menu displays for customers to access your whole menu through their phone.
- Use pre-built templates as a jump off point every time you need to design something new to display.
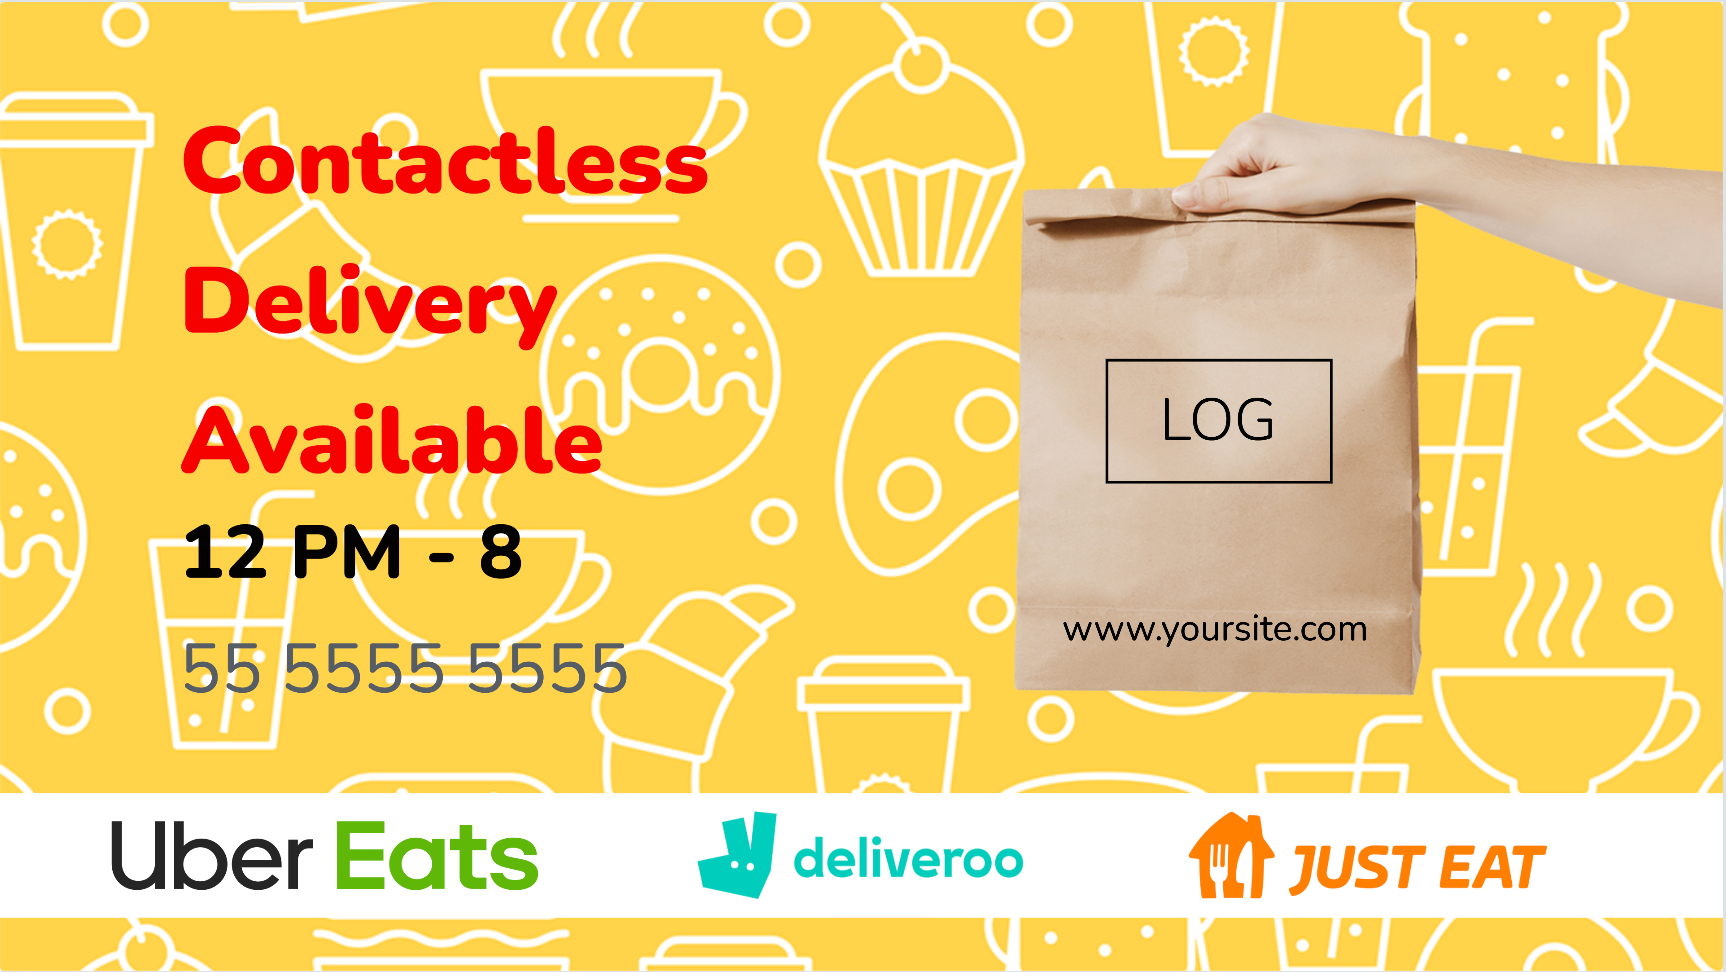
Need to announce your availability or that you offer delivery services? You can easily display all that information and more between or alongside your menus.
Fugo brings all these features together to offer a full-service digital signage management solution you can use to your heart’s content. This is true whether you’re working on digital menus, a general set of slides welcoming customers, or you want to display banners with images depicting your brand.
What's the future of screens in restaurants?
Whether you’re nostalgic about how things used to be or you’re the first to adopt the newest gadget on the market, the future of restaurant tv screens is pretty clear: you’re only going to start seeing more of them. This means it's crucial for restaurants of all sizes to start incorporating digital aspects into their everyday workflows.
For one, there’s a lot of hands-free value in digital signage as far as sanitation goes. If you want to get a little nerdy, there’s also beacon technology, which lets you connect and transmit information through bluetooth technology. This means a more interactive digital experience with customers. Interactive screens are sure to make an integral part of how a lot of restaurants interact with their customers in the near future.
Get started now!
If you’ve been thinking about integrating digital restaurant menu boards to how you do business or you’re looking to migrate to a better digital signage system then you’d be remiss not to try out our free trial. Fugo eliminates the painstaking process of having to use additional tools to create signage content. It’s everything you need in one app. Templates and easy design tools included.
Get started and try out Fugo here or book a demo with our sales team.

